Another home update is in the books!
As my home has reached the ten-year mark, I’ve realized that some things are in desperate need of a style update.
Although I would love a larger kitchen, a separate and more relaxed family room, and an outside covered patio with an outside kitchen…..and the list goes on…..I’ve been pretty happy with our small DIYs. Besides, the bigger the home, the more maintenance, and cleaning. Am I right?
Ain’t nobody got time for that!
Over Christmas break, on a whim, I decided to paint my staircase. Some things are better to do without thinking first. There was most definitely a glass of wine and a home decor Instagram post to blame. Most of the time, I don’t consider myself a very adventurous person. It’s a different story whenever it comes to projects.
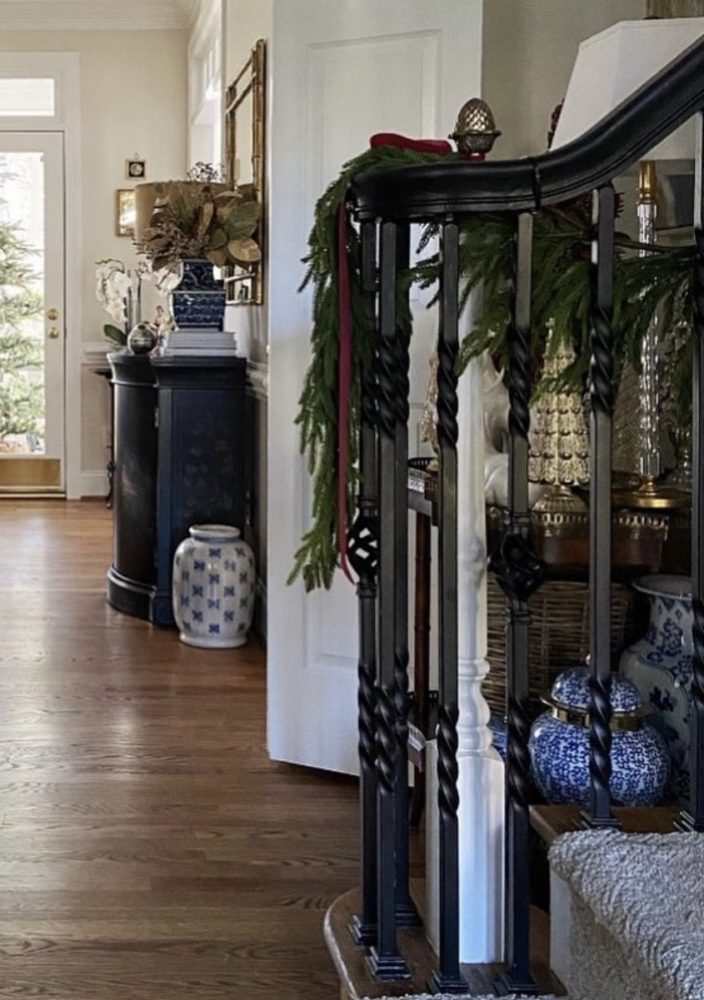
While scrolling Insta one evening, I saw this post from Southern Charm Cottage. I’d been tired of my old railings and was thinking that I wanted to replace all the posts and the iron. It would have been a huge costly redo. Since this project basically only required paint and time, I jumped in with both feet. I just had that feeling that I would love it!
My inspiration….
So why did I dislike my old railings?
There were several reasons. They seemed to be too dark. I’ve always thought the landing stood out too much. My handrail was also very scratched from Smokey- God rest his wild cat soul. They were also scratched from past Christmas garlands- particularly the first year I used wire to secure them to the railing. No need to tell me that was a stupid idea. I figured it out very quickly. And honestly, I was sick of looking at the brown and craved a lighter and brighter change.
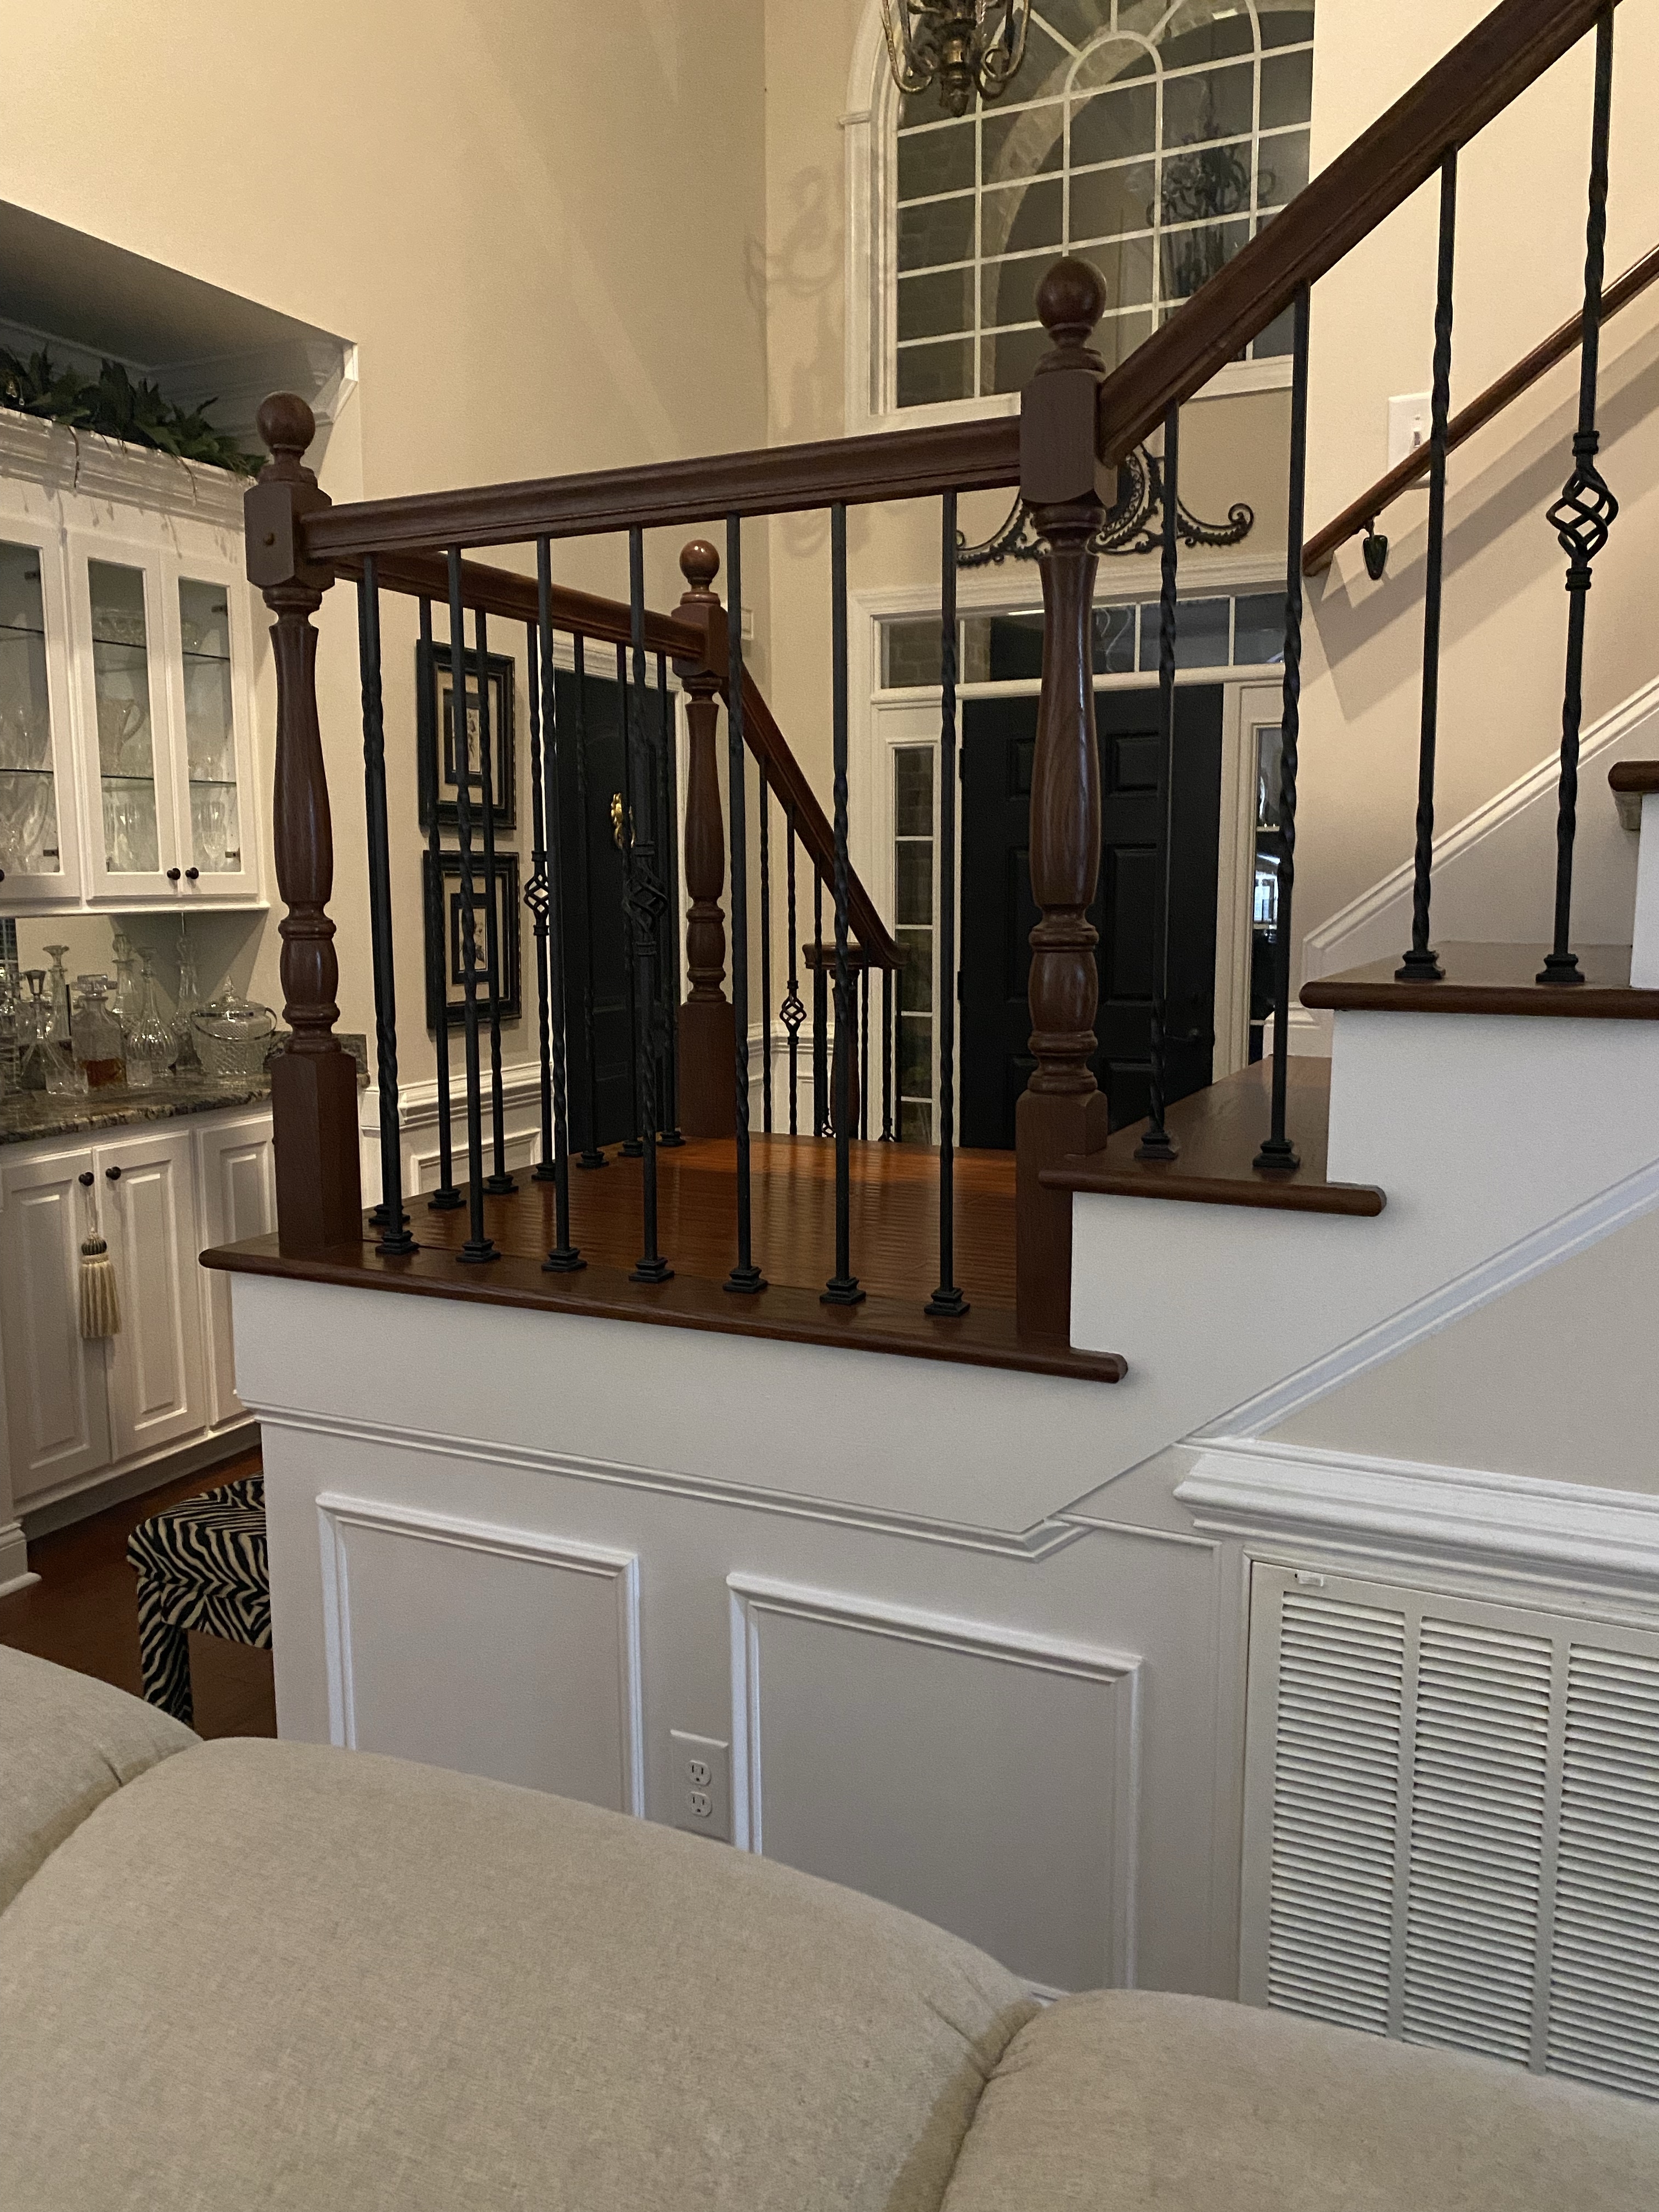
When I began, I first painted the posts. I did the post in the center first, before I decided whether or not to do the rest. As soon as I began, I knew I wanted to do all of the posts. At first, I used painters tape. After the first few posts, I found it was easier to only tape the posts around the floor. Since I planned to paint the hand railings black, I didn’t need to be particularly perfect with the painting. And I really have little patience for taping things.
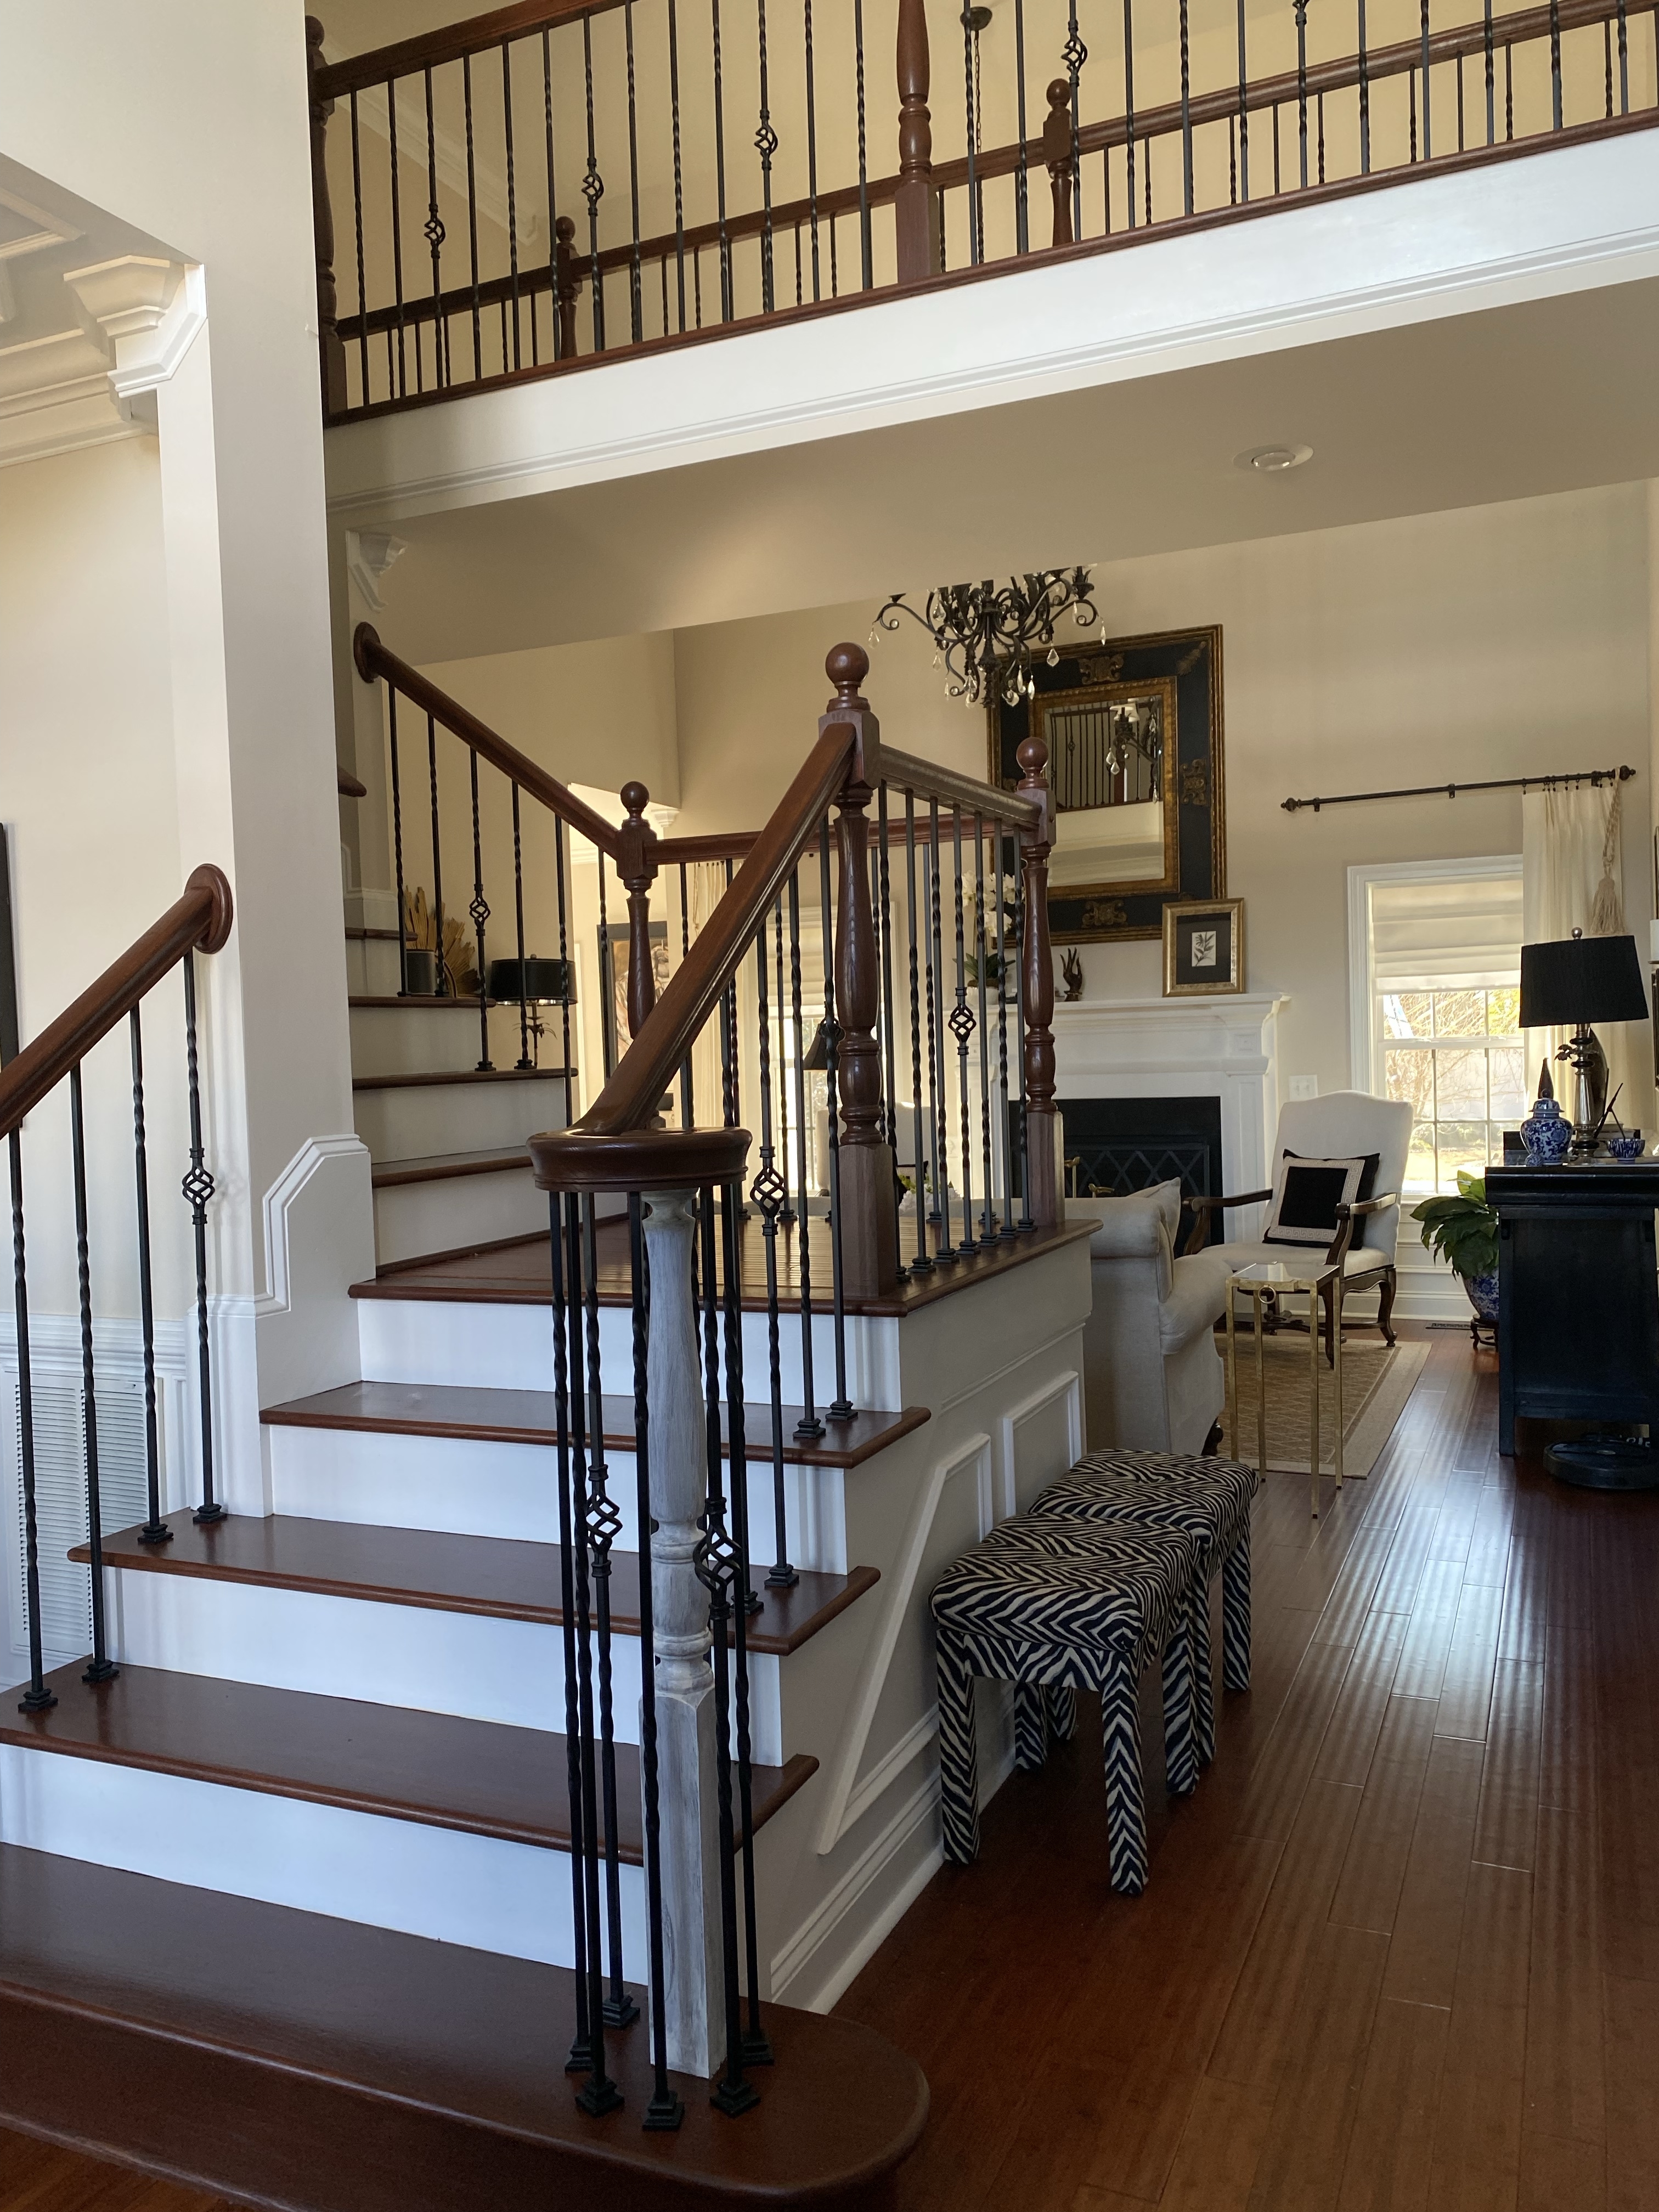
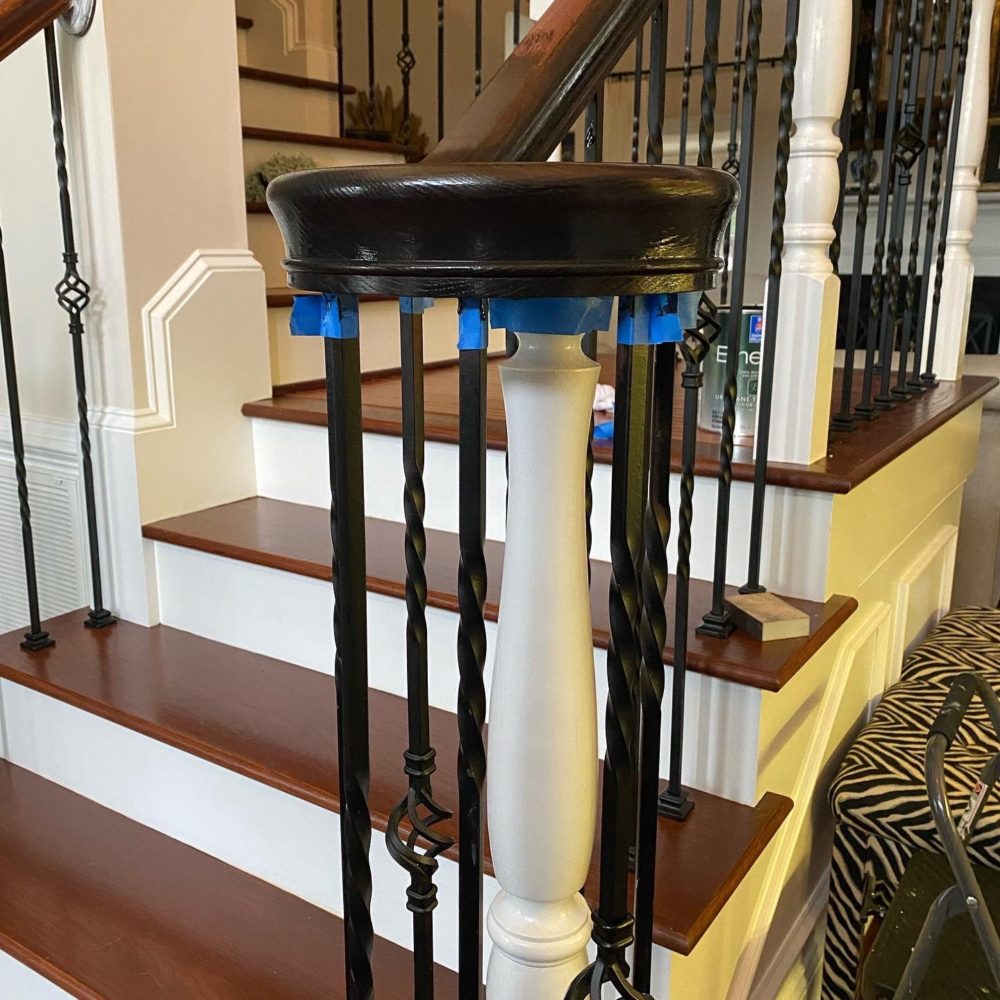
I used my favorite white gloss for the posts.
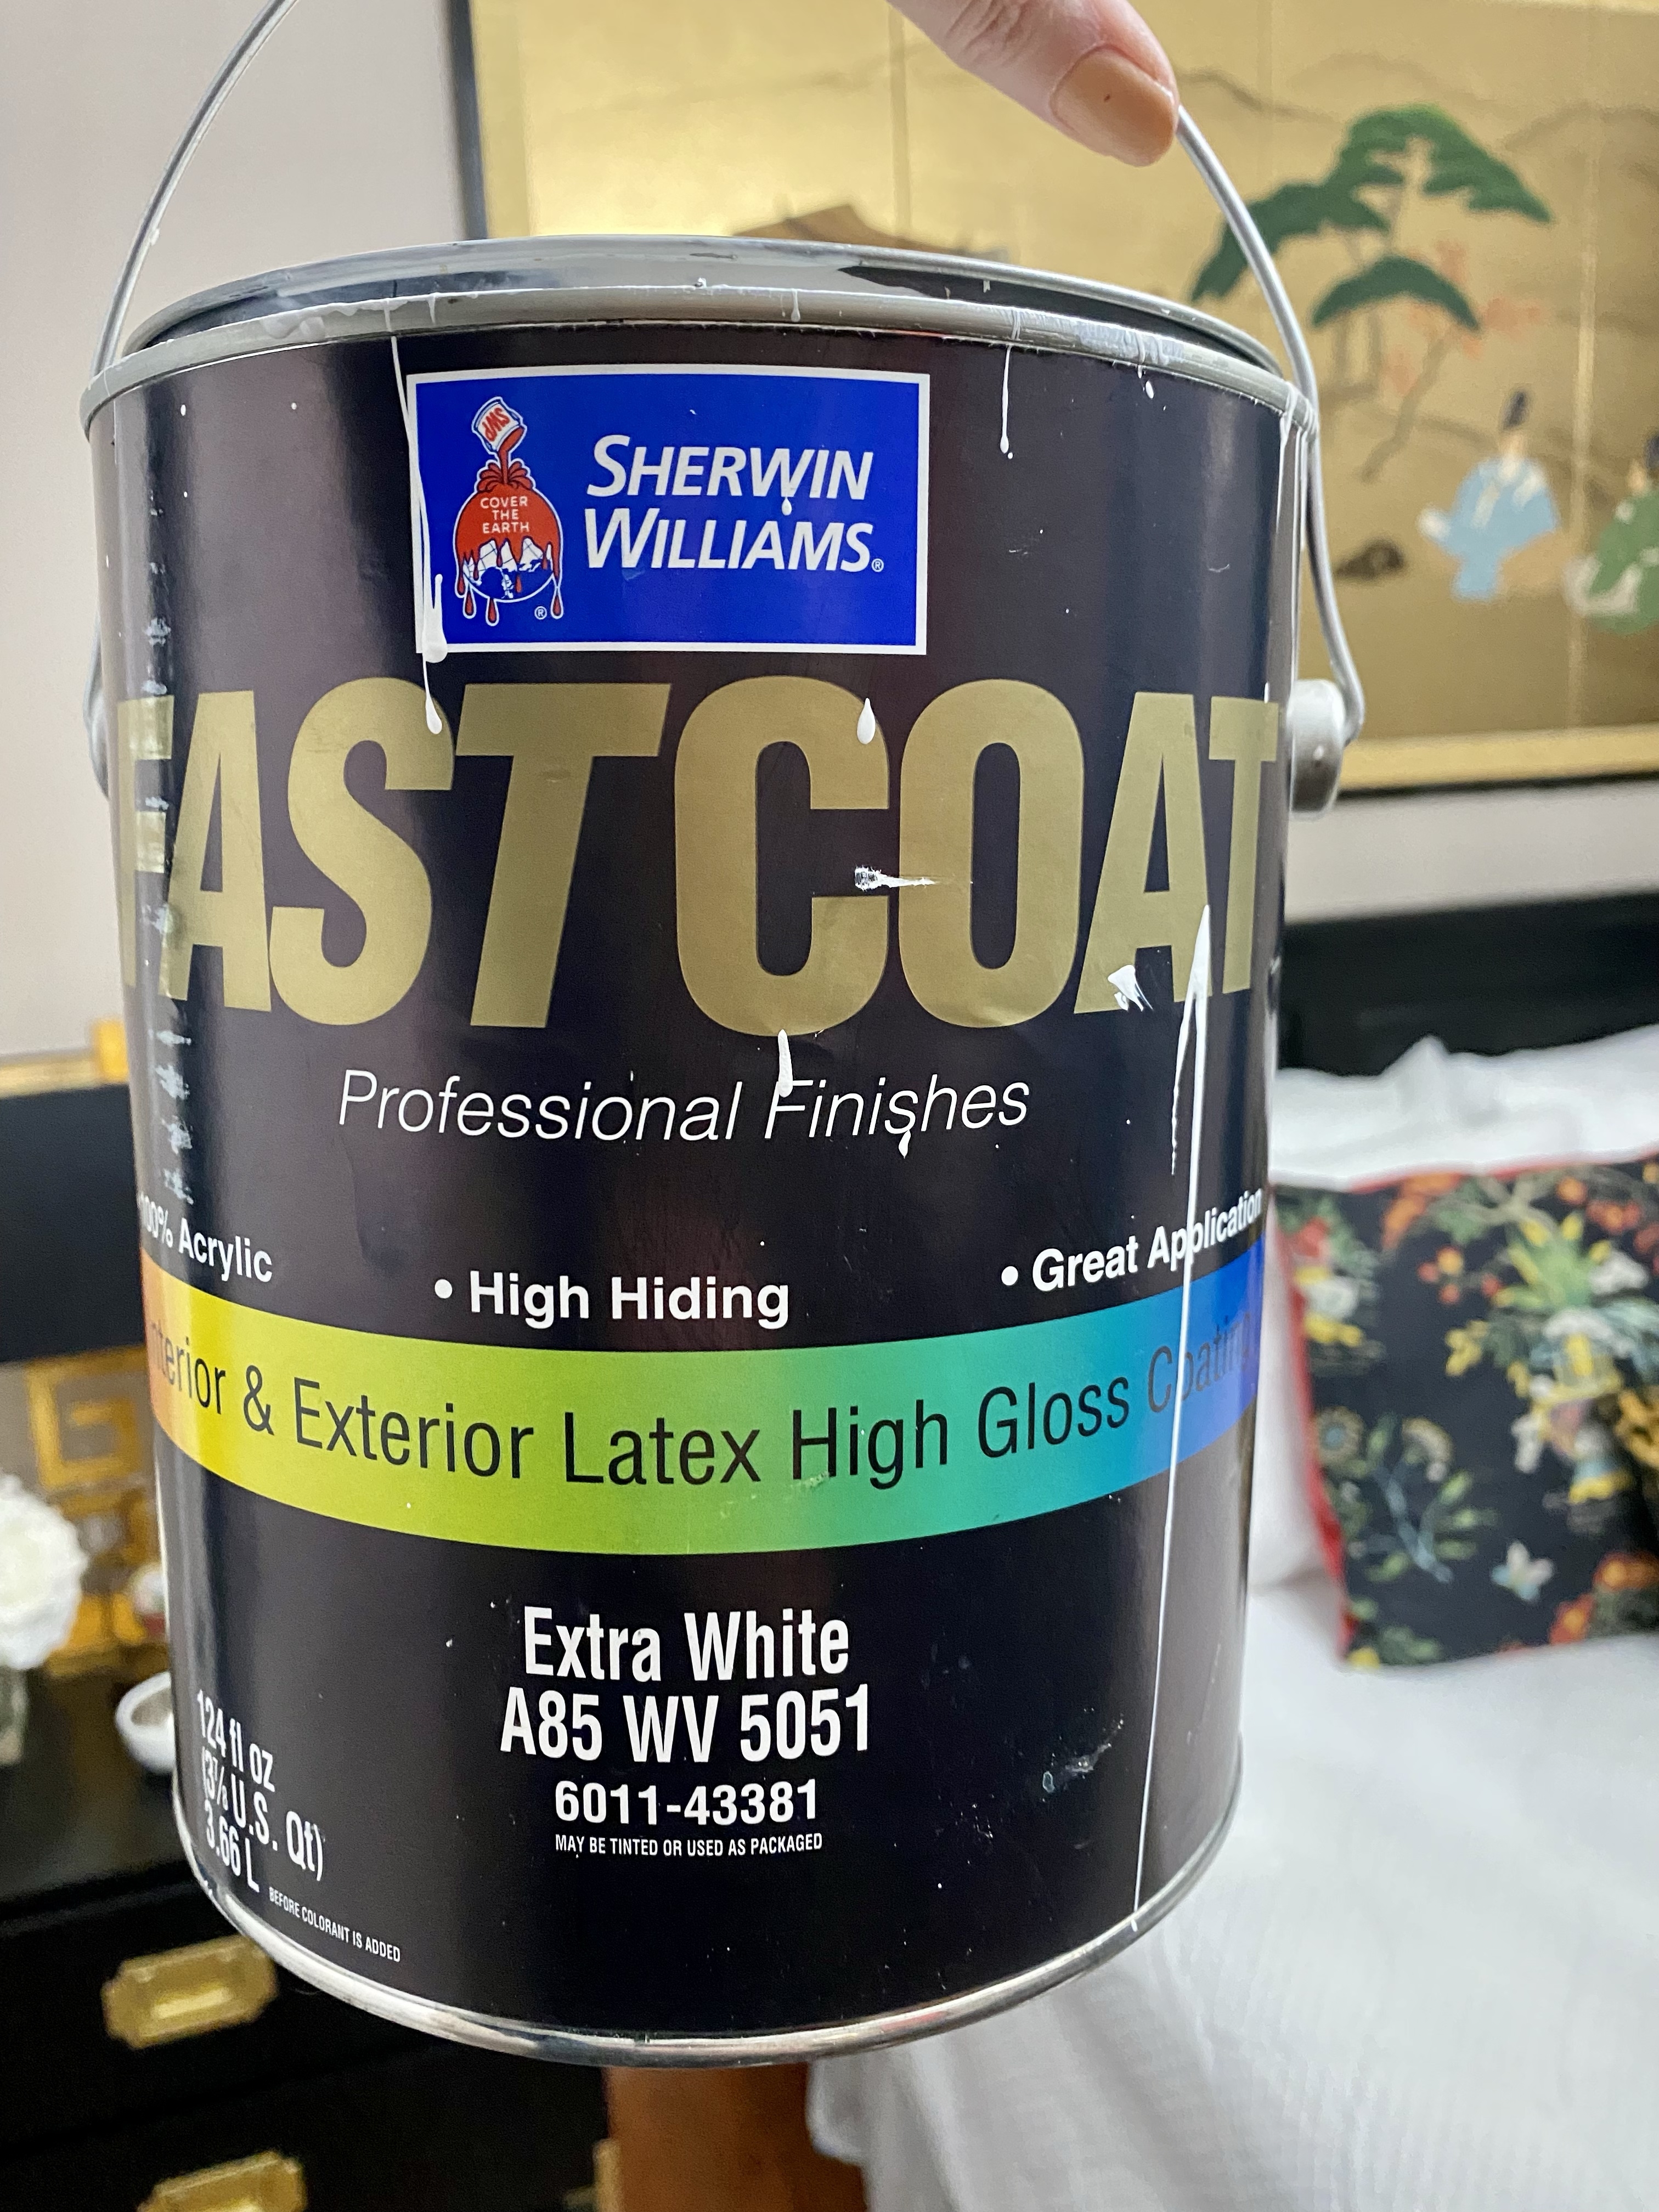
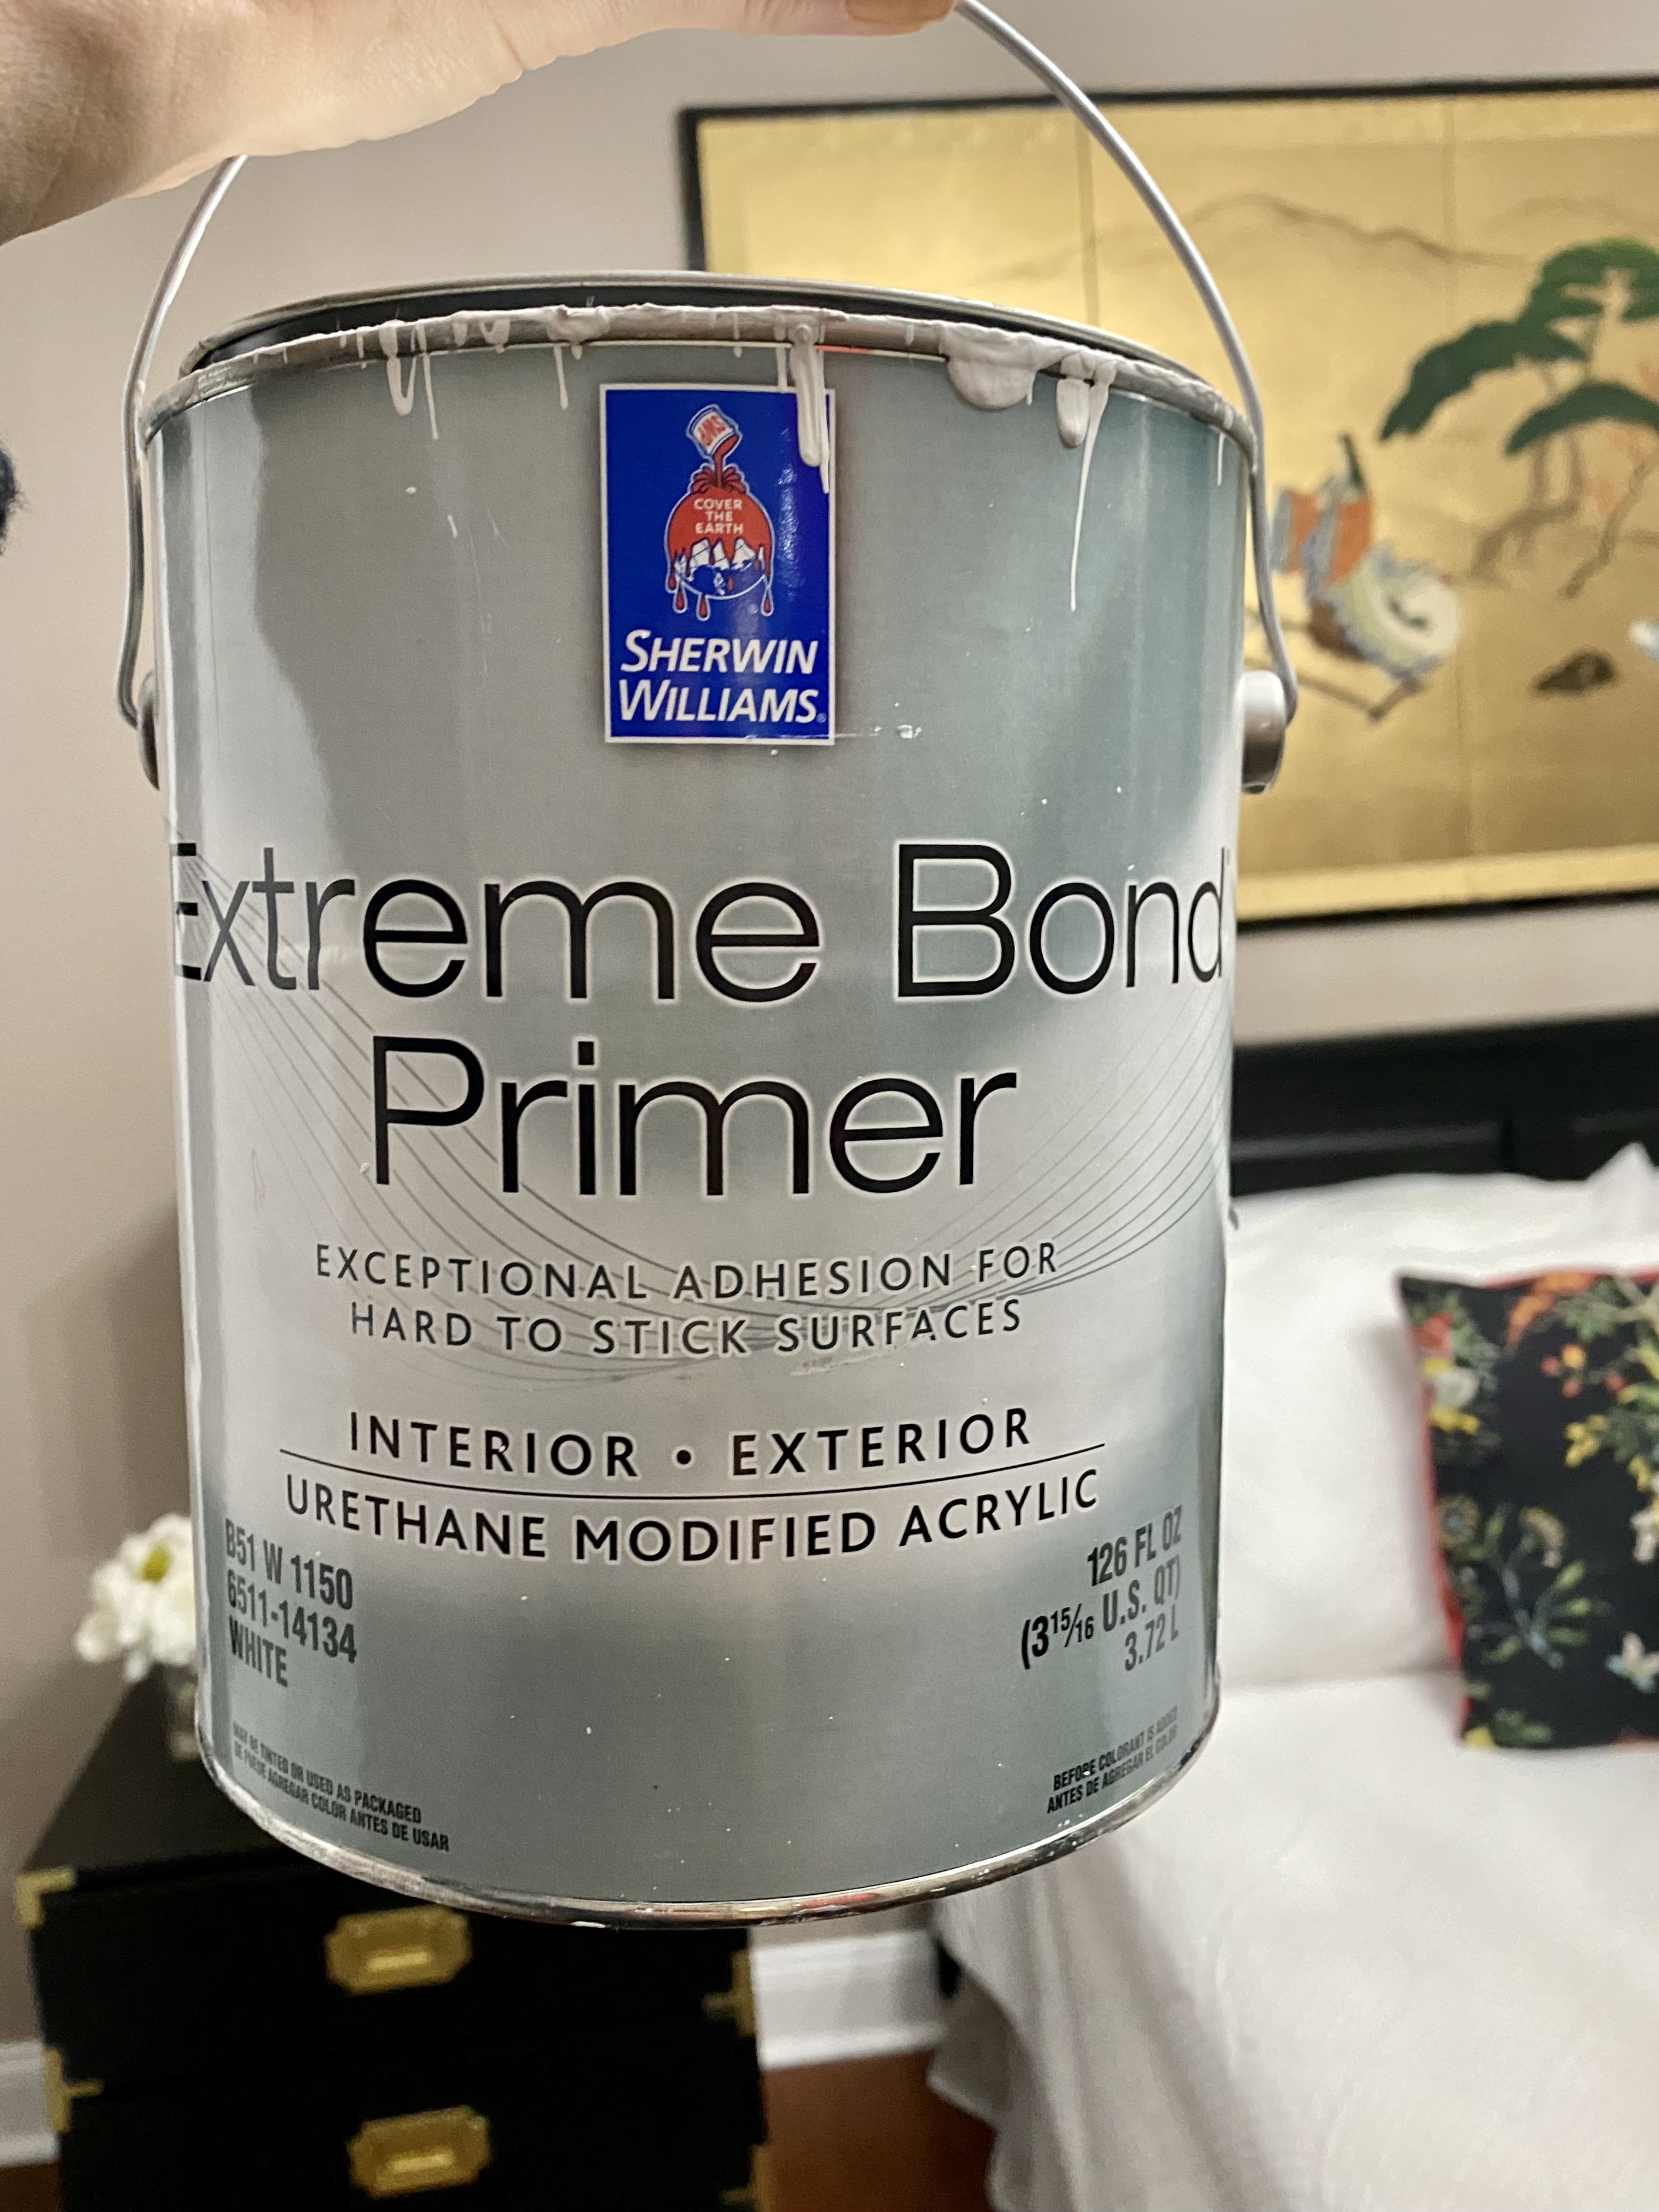
I already had nearly a whole gallon from painting the box moulding, which was our last project. I didn’t worry about sanding the posts. I applied two coats of the primer, and then two coats of the gloss. All of my paint dried quickly.
This is my favorite primer.
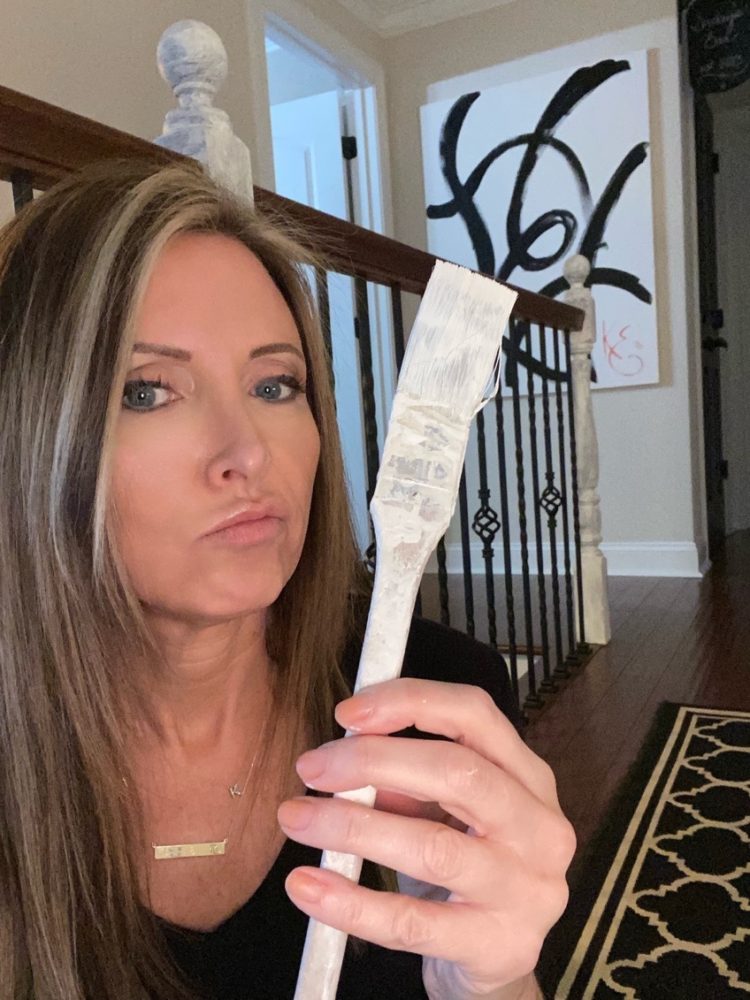
I have a ton of posts since I have a catwalk upstairs. It took a day to apply the two coats of primer on all of the posts. I used a 1-inch paint brush because I had to paint with my arm in between the railings at some points. Very awkward. Upstairs, I had to hang over the balcony to paint the backsides of the posts. This was a large feat for someone who is naturally afraid of heights.
Once you commit to a project, there is no turning back! I am thankful to report that there were no injuries.
But at times, I wondered if starting the project was really a good idea….I was afraid it would take a month to get all of it painted.
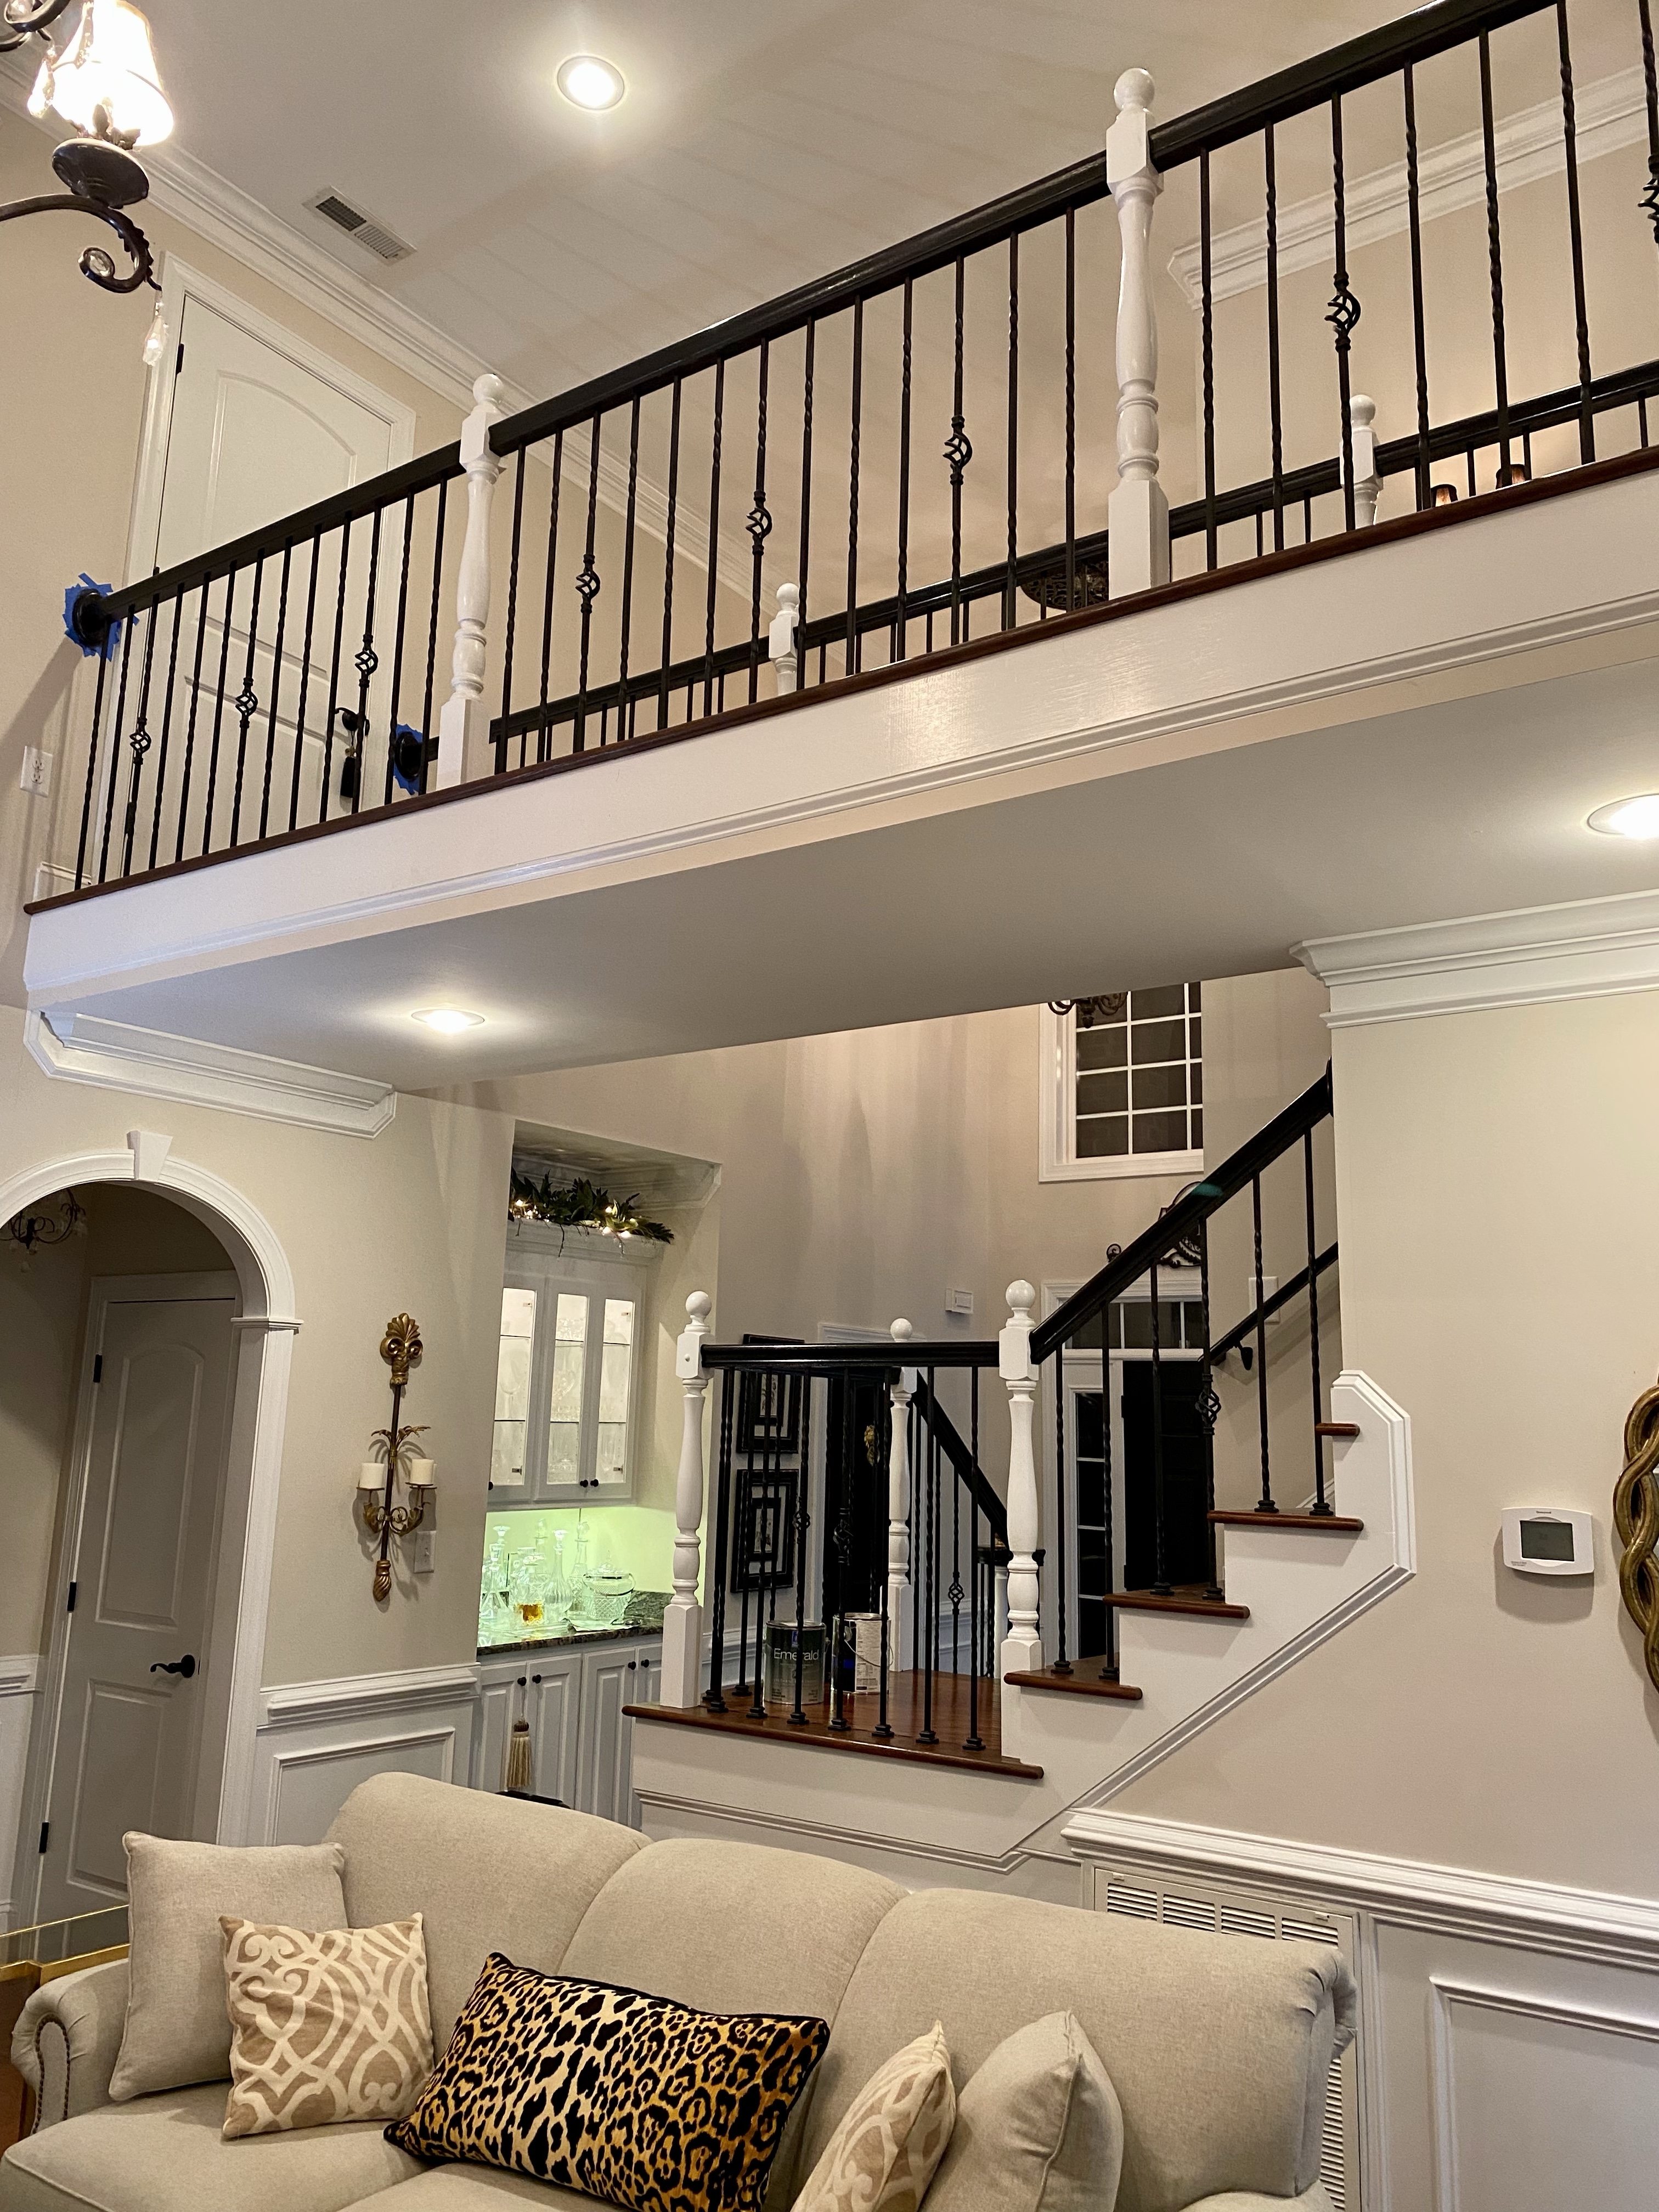
The next day, I applied the gloss paint. It’s so satisfying whenever you finally use the “real” paint and begin to see progress! The landing already felt more balanced with the posts painted white. Much lighter and brighter!
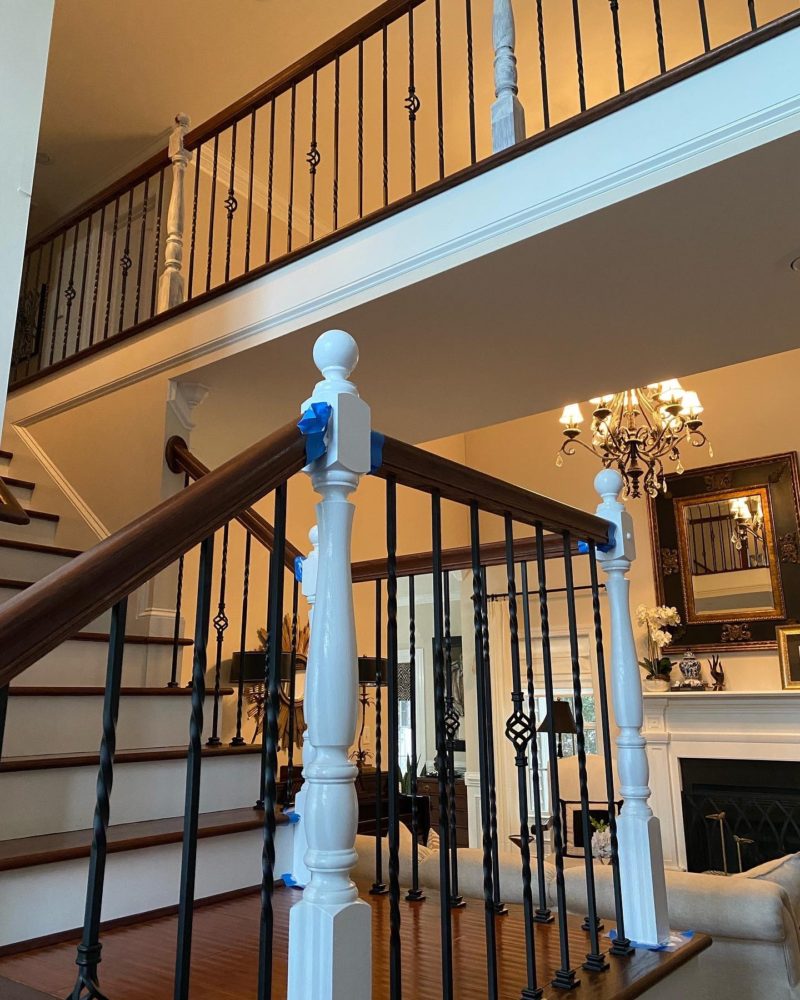
The next day, after a trip to Sherwin Williams, I began to paint the handrail. For this job, I purchased really good paint that I could use over oil-based paint or acrylic. The guy promised that this was the best for the job. Our store has the most helpful people! I also purchased a 1 1/2 brush and a couple of fine sanding blocks.
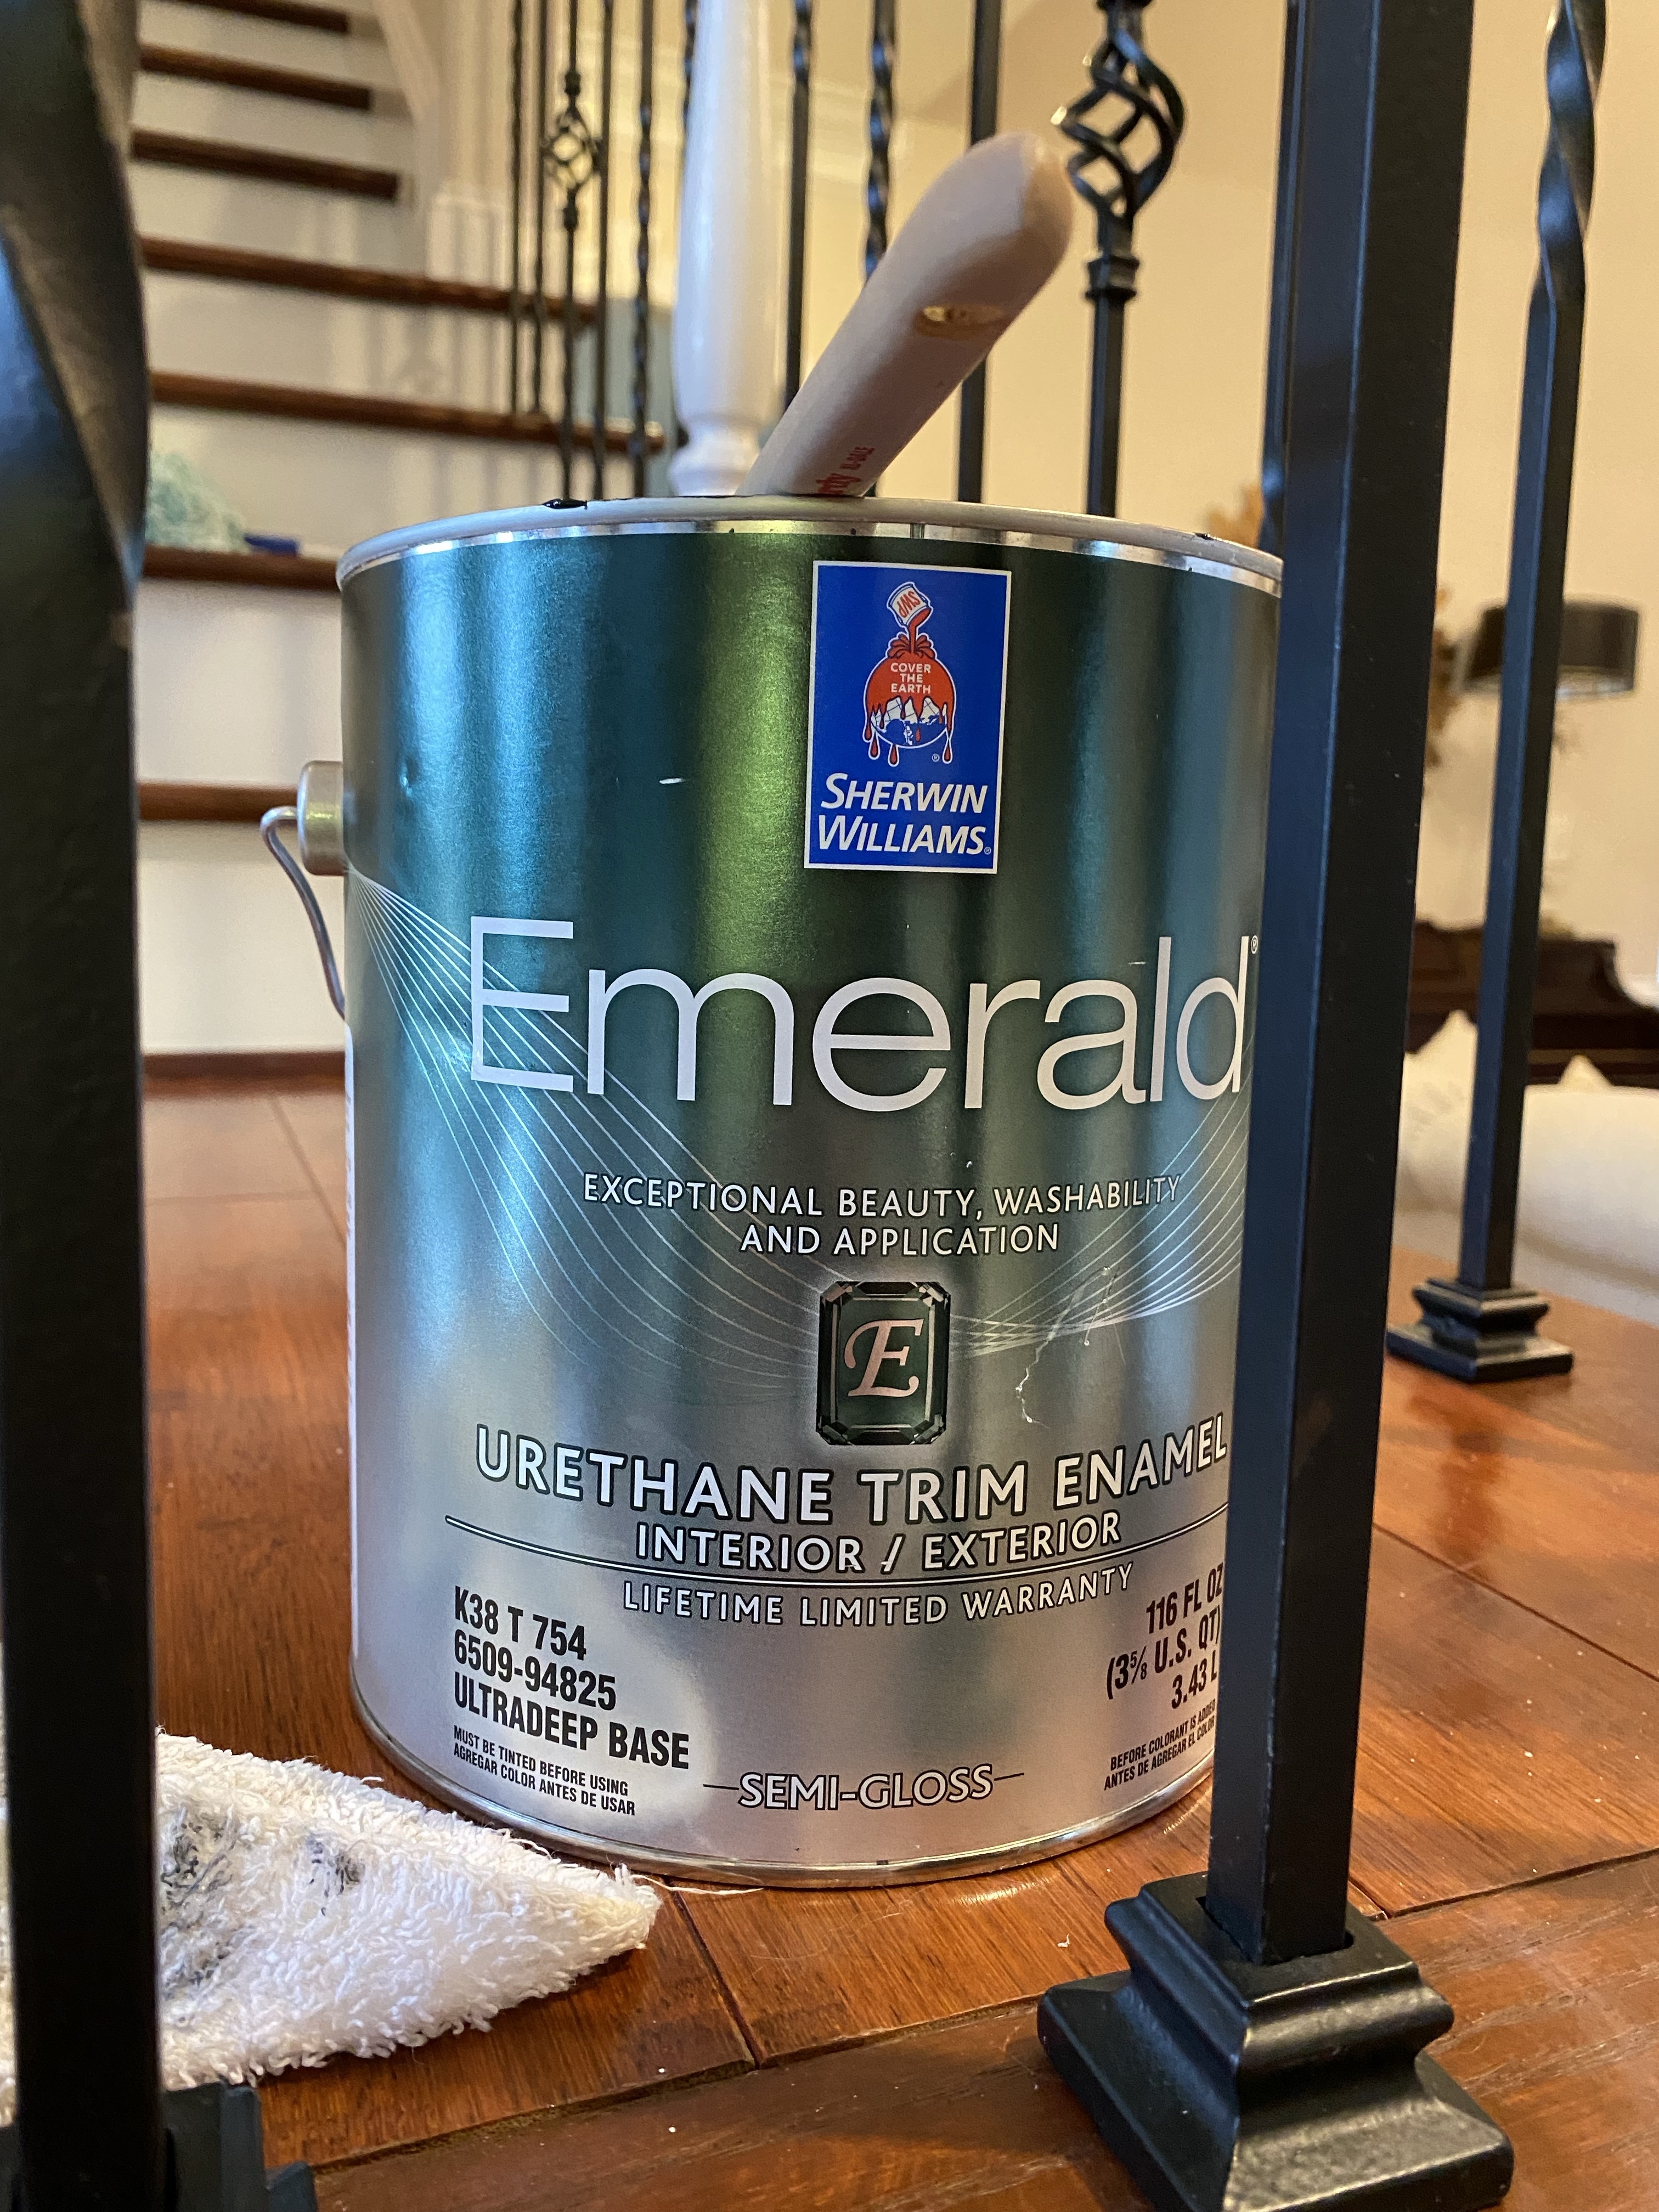
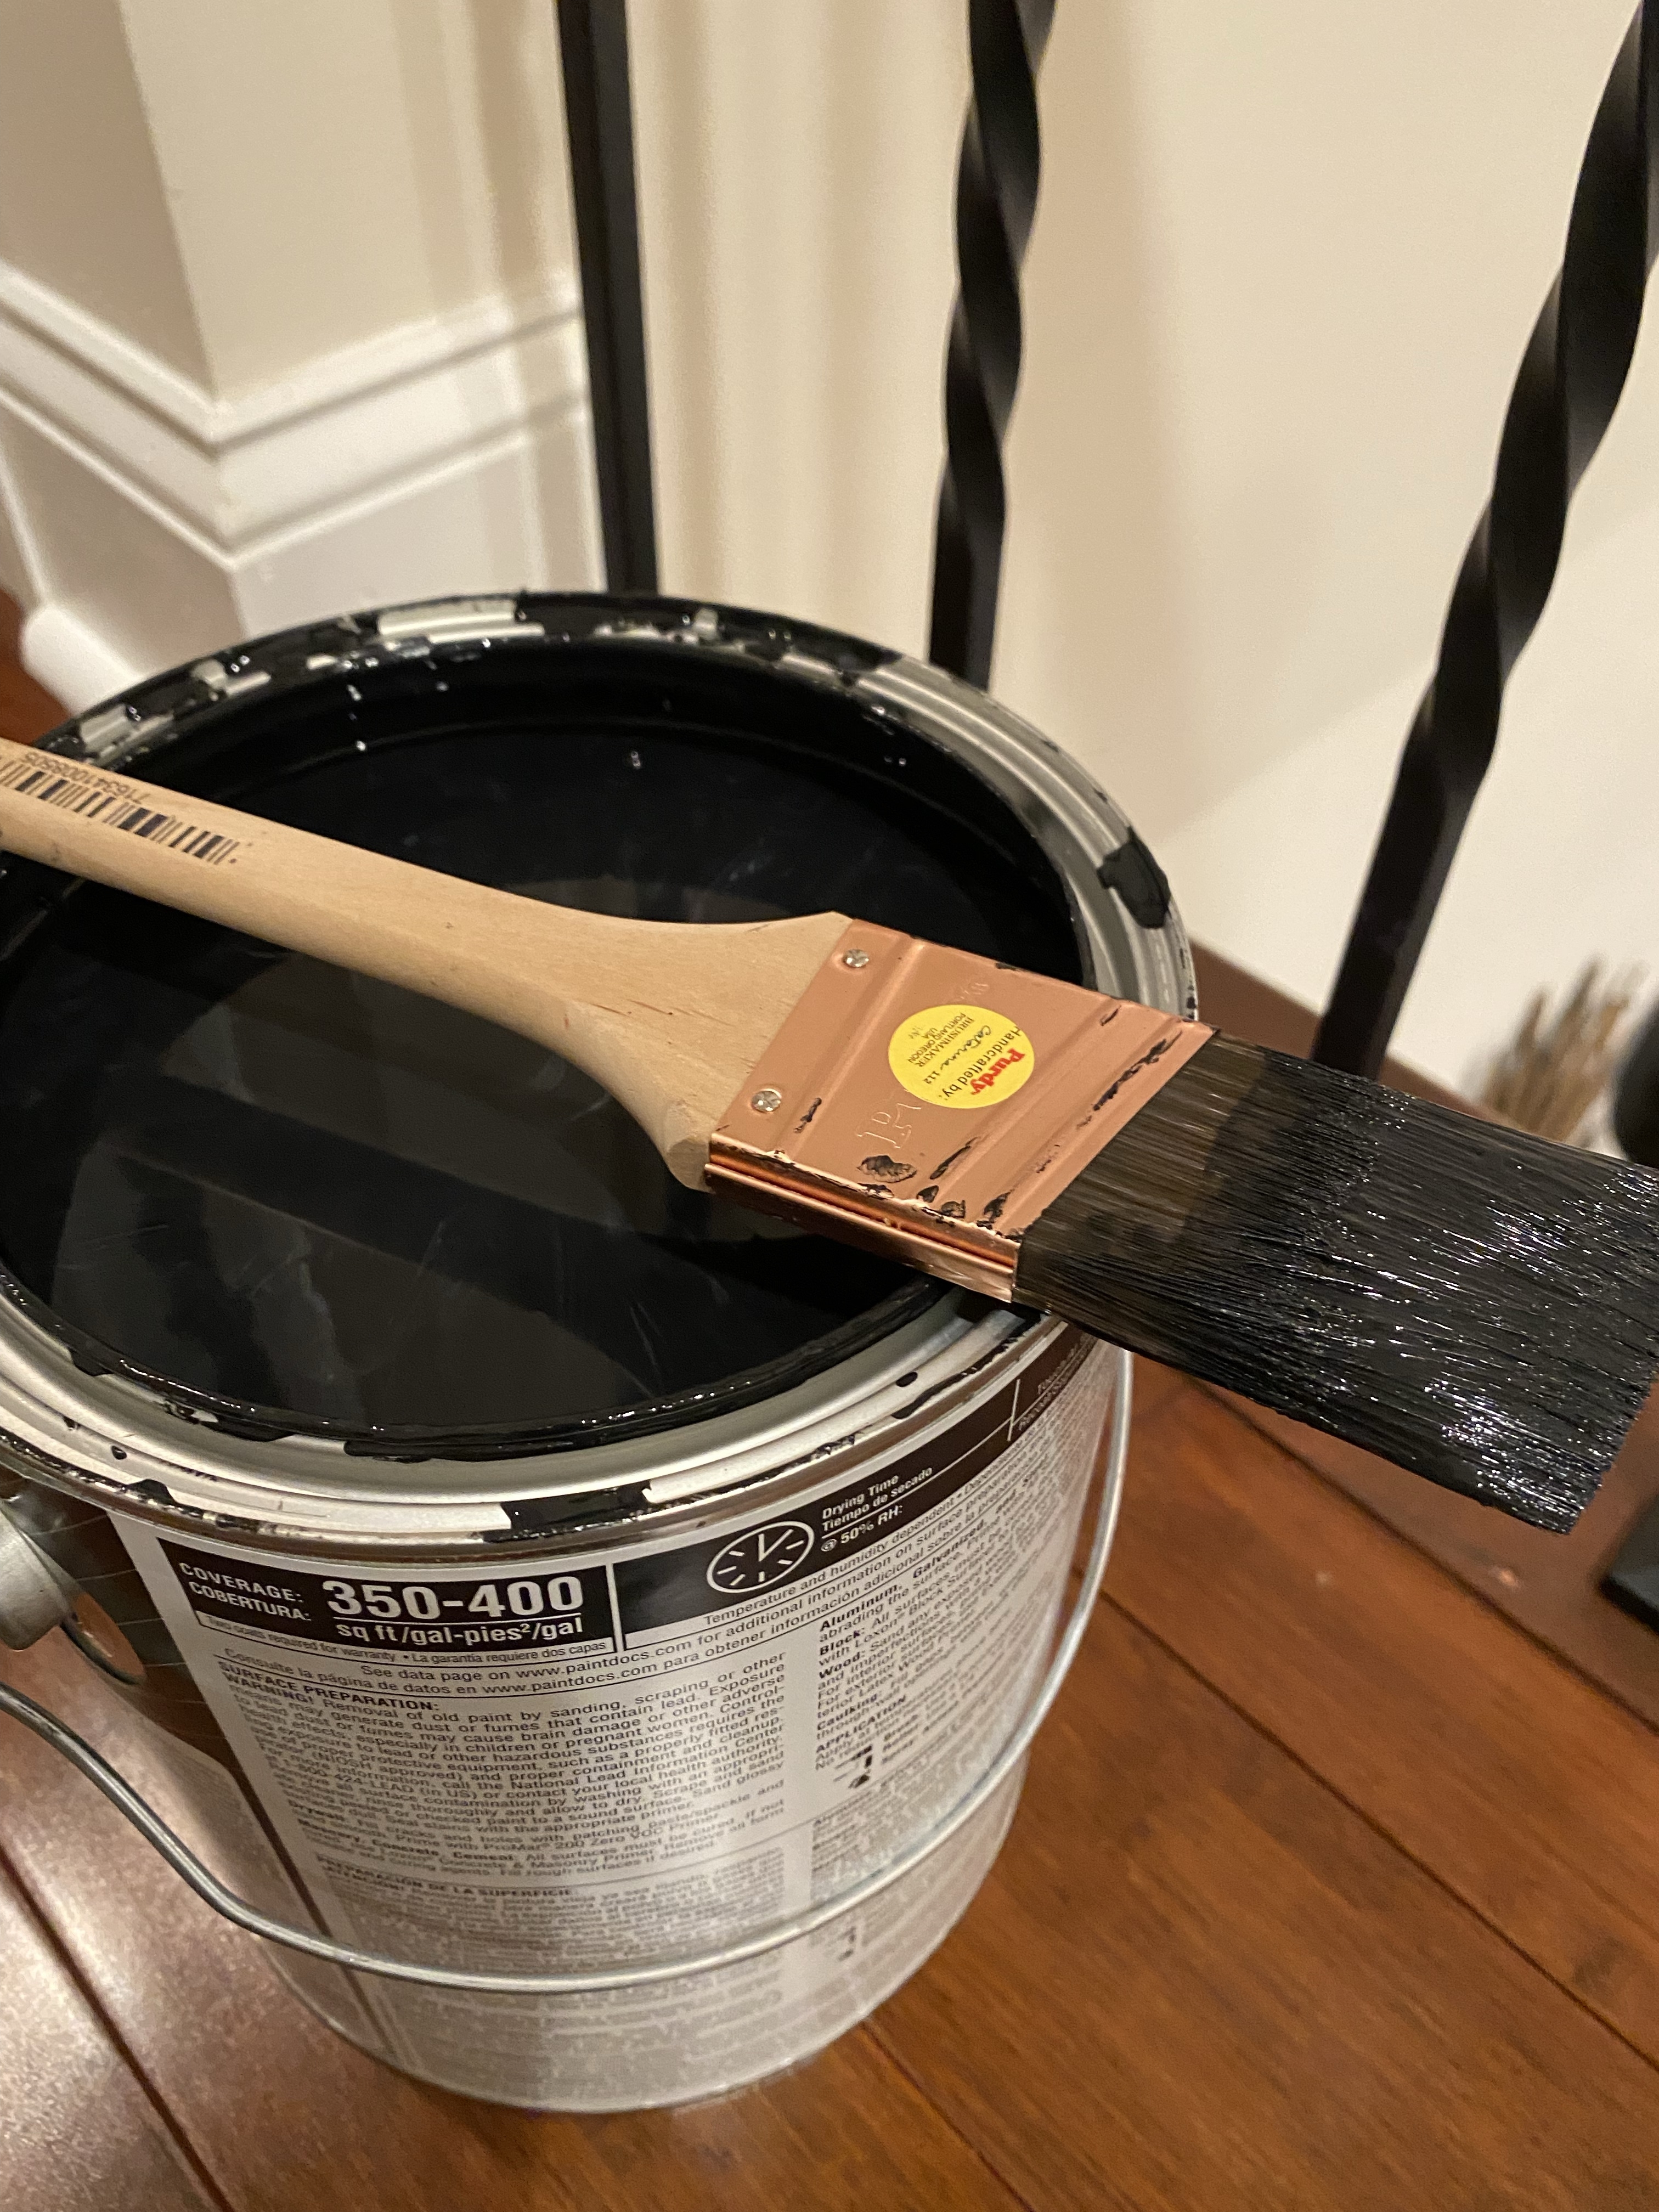
Once I got home, I was eager to start! First, gave the handrail a light sanding and wiped it down. I tried taping but found it was much too difficult to tape around the curves. I knew I’d have to take my time, be super careful, and use a really small art brush for the edges.
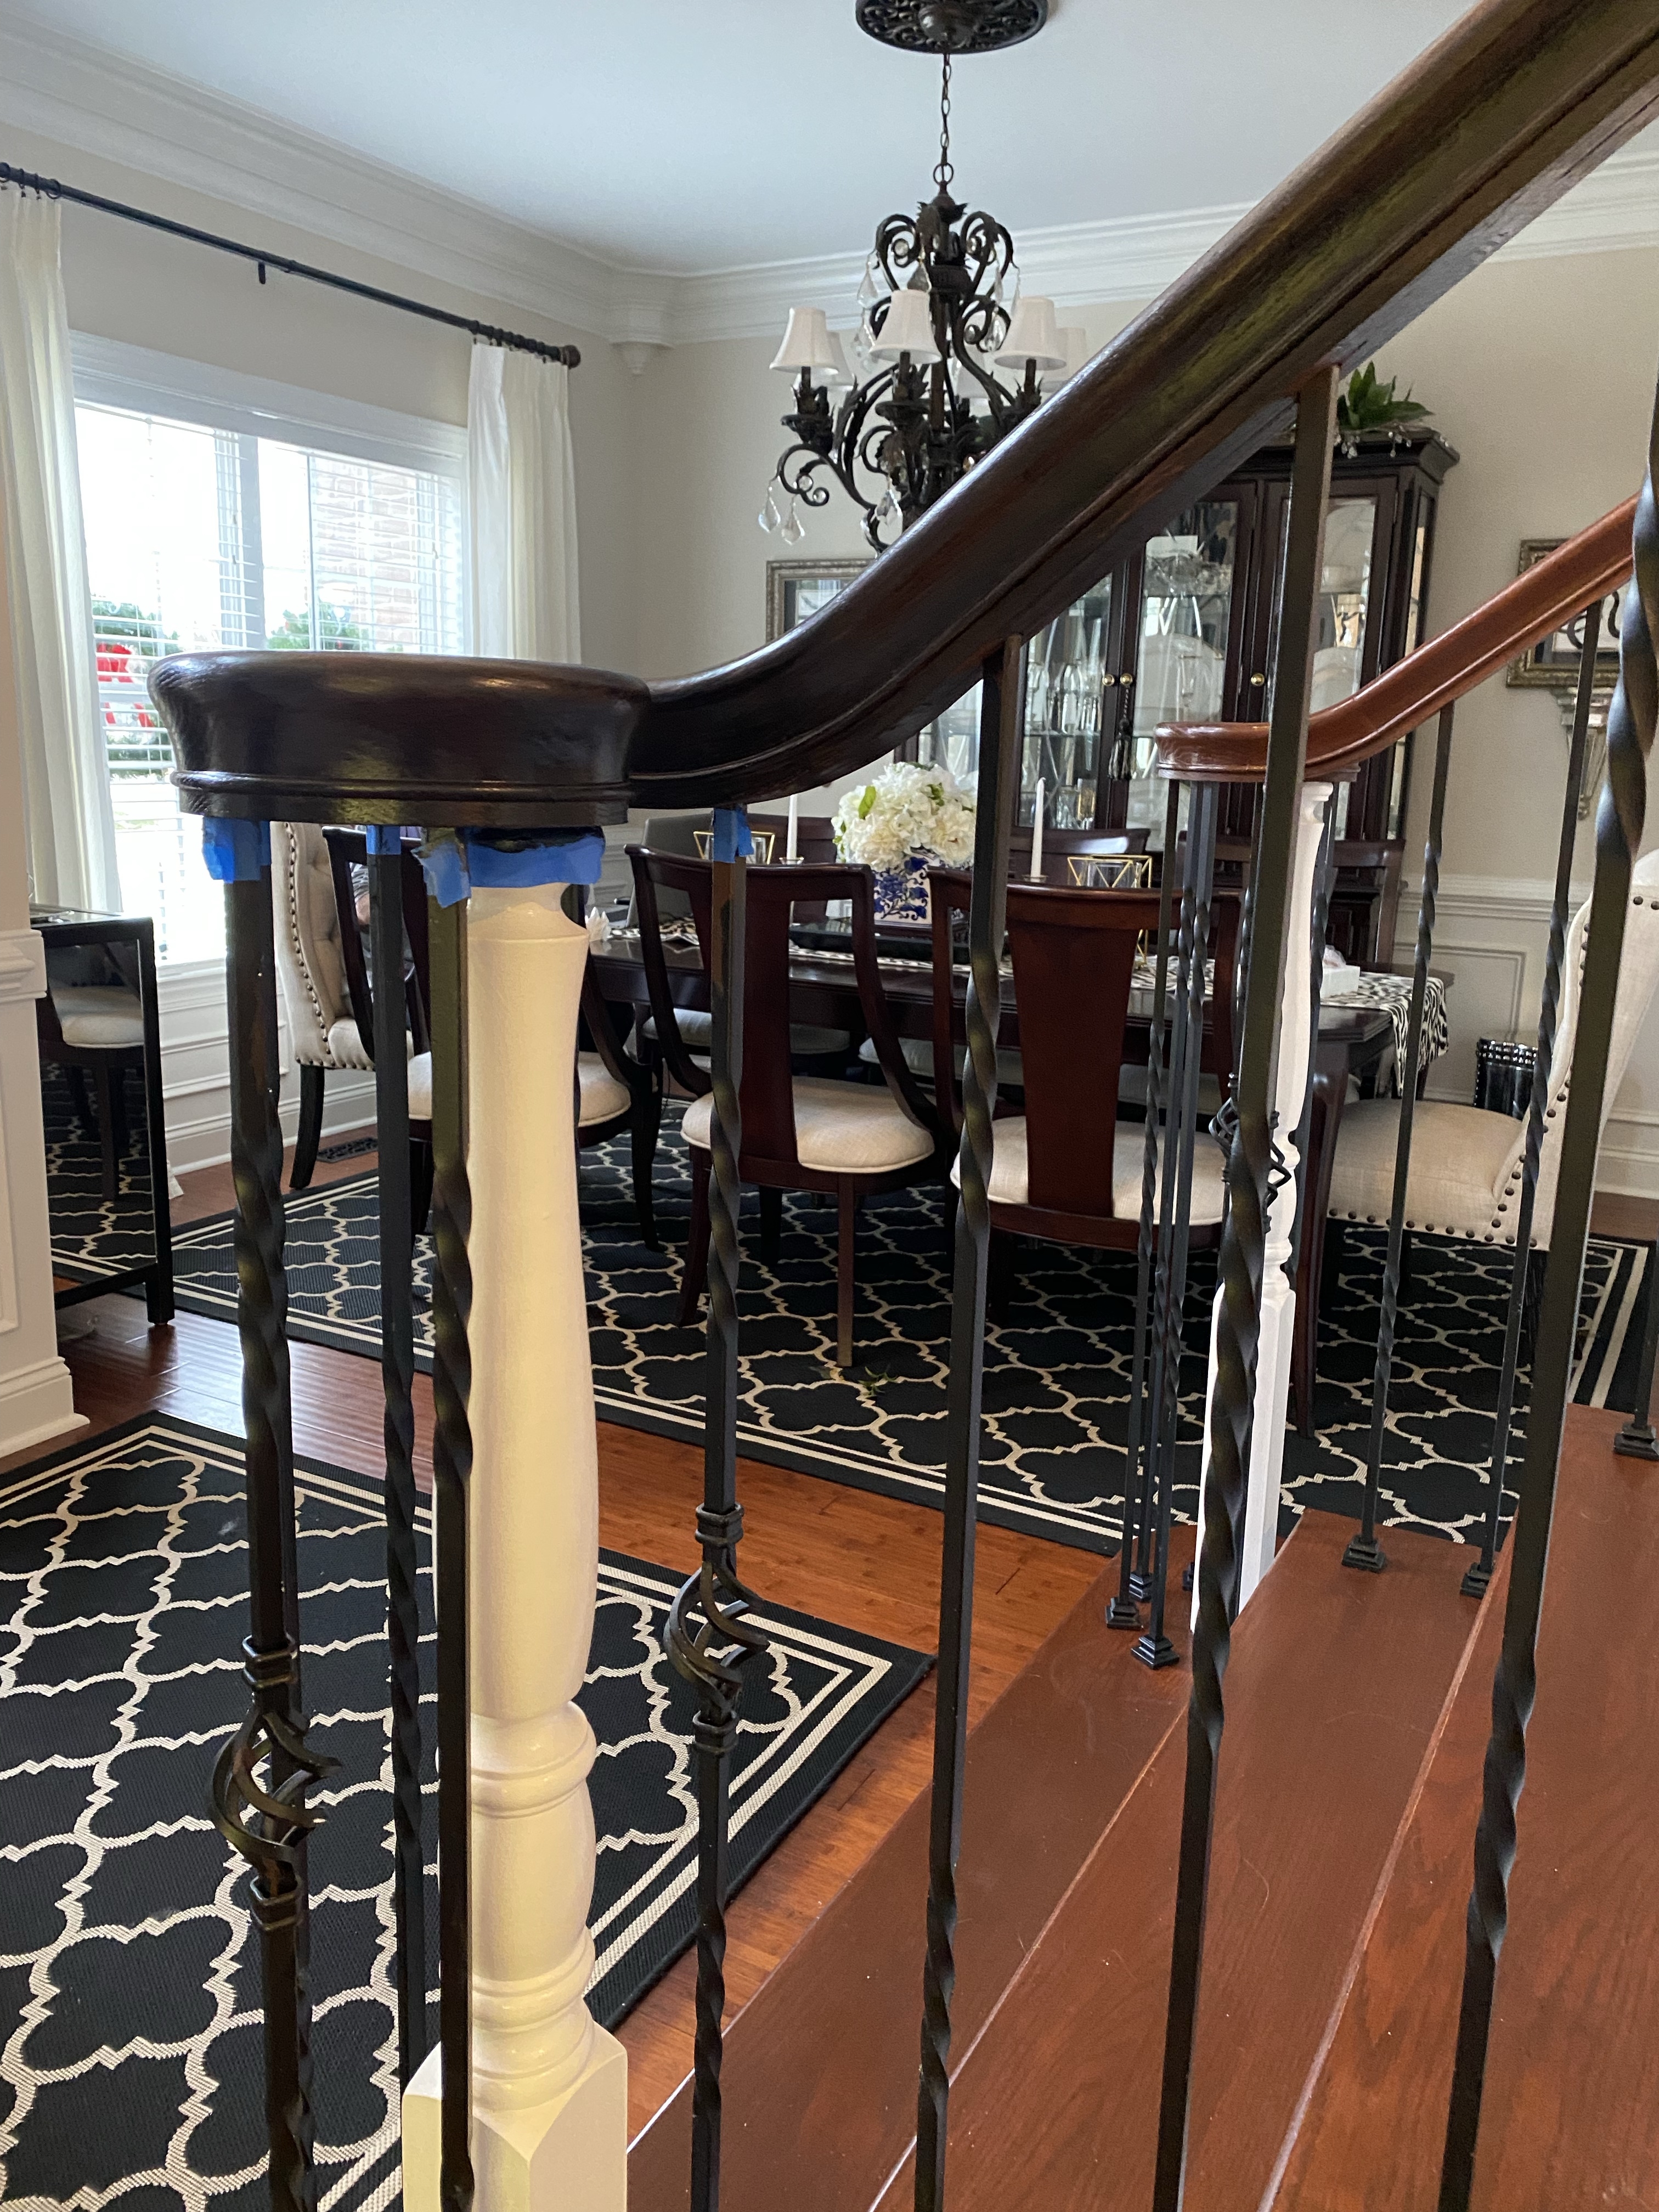
I mostly only needed two coats on the handrail. I had to put a third coat on the areas around the posts that had primer. I was worried that the paint wouldn’t bond well without primer. However, I’ve tried to scratch off the paint in an inconspicuous spot, and it wouldn’t budge. The paint dried to a hard enamel-like surface.
I added the finials I bought on Amazon. They were perfect! Eric screwed them into the posts and they feel very stable. It definitely adds interest to my standard railing posts, don’t cha’ think? I found them on Amazon and they are a fantastic shade of gold. They are currently sold out, but you can get on the list here. Hopefully, they will be back in stock soon.
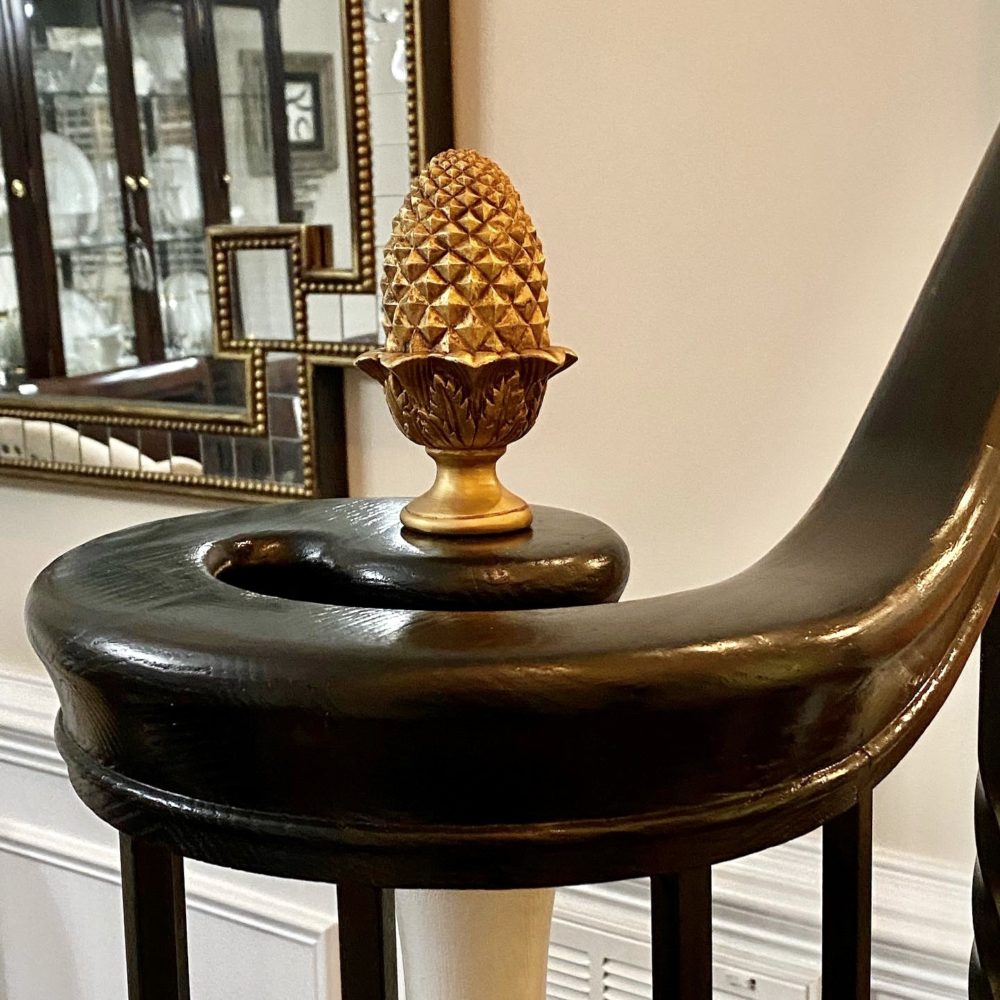
Yep. The finials make all the difference.
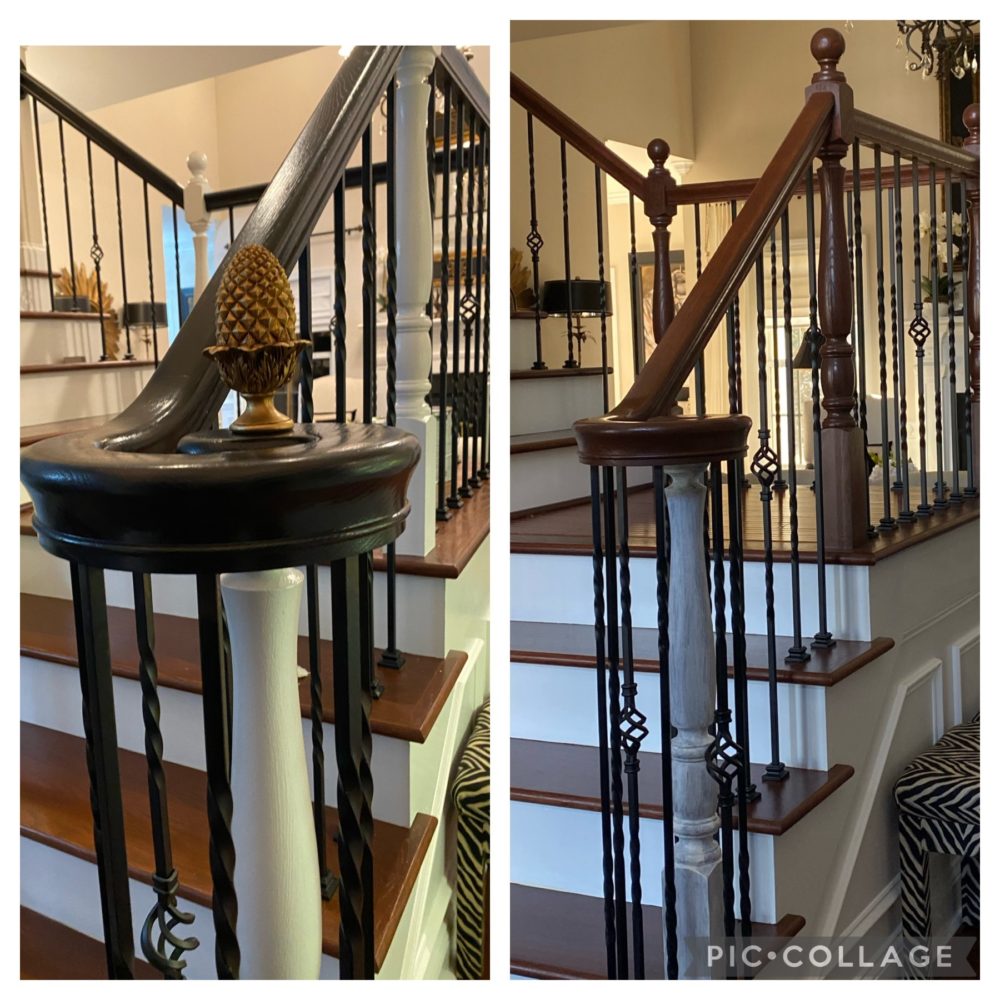
I think it looks pretty much like my inspiration picture. If I do say so myself….
Mine is the one on the right.
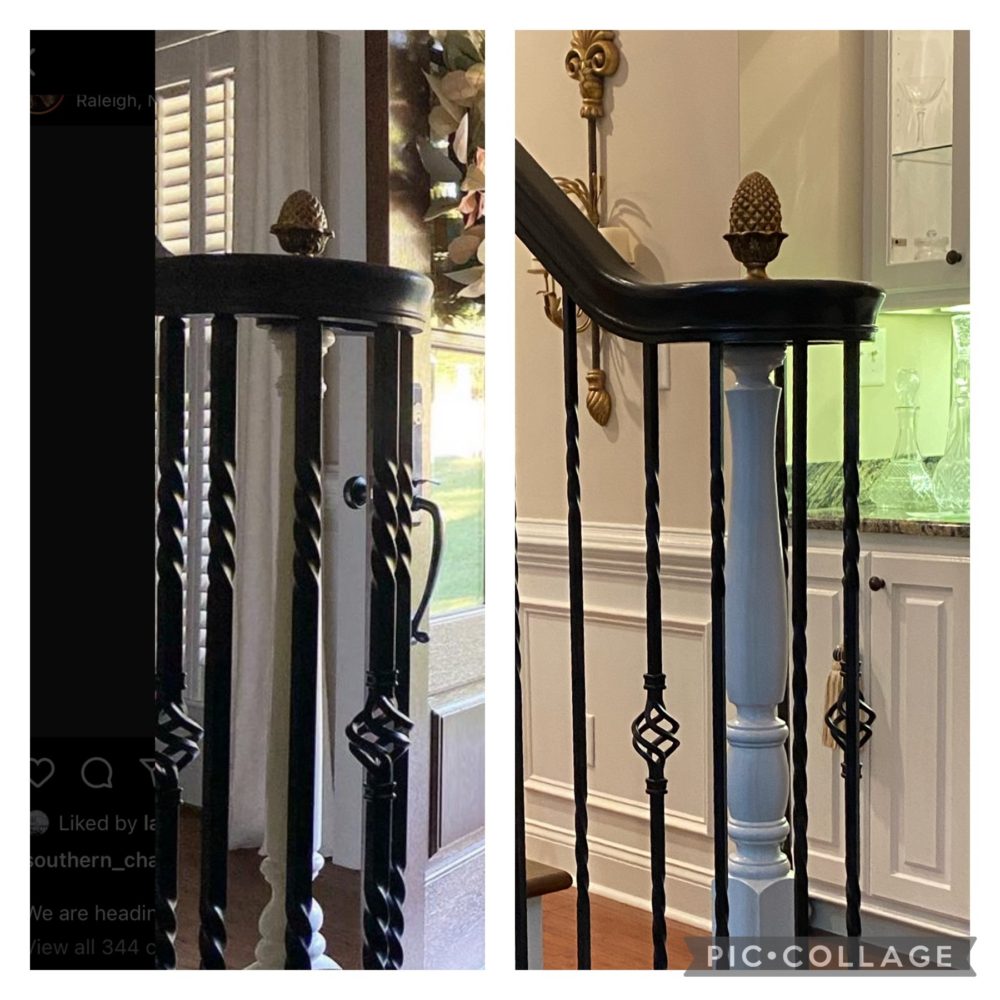
I’m so pleased with the way this project turned out. It was definitely one of my favorites!
Stay tuned for more house projects we’ve completed this year!





 After the movie, we took pictures with our Halloween photo props. I purchased the props on
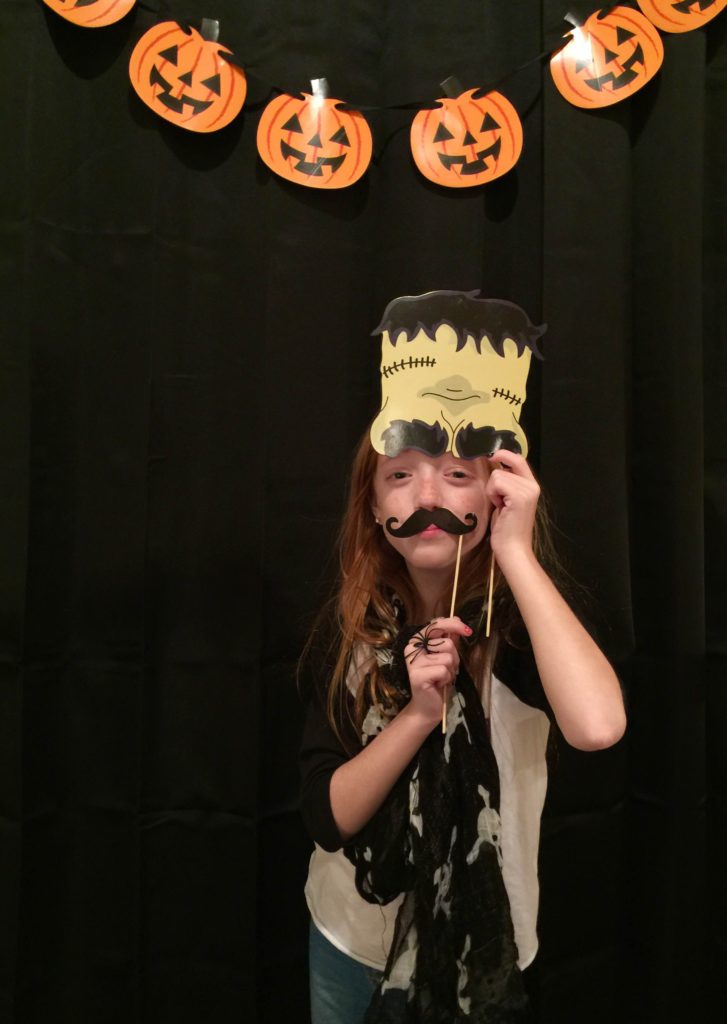
 A party doesn’t have to be anything elaborate or time consuming. With a little creativity and planning, a fun time can be had on a very small budget. We shared lots of laughs, spent quality time together, and took lots of pictures. I’m sure, in years to come, we will have a ball looking back at the videos. Life is what you make it. Make it fantastic!